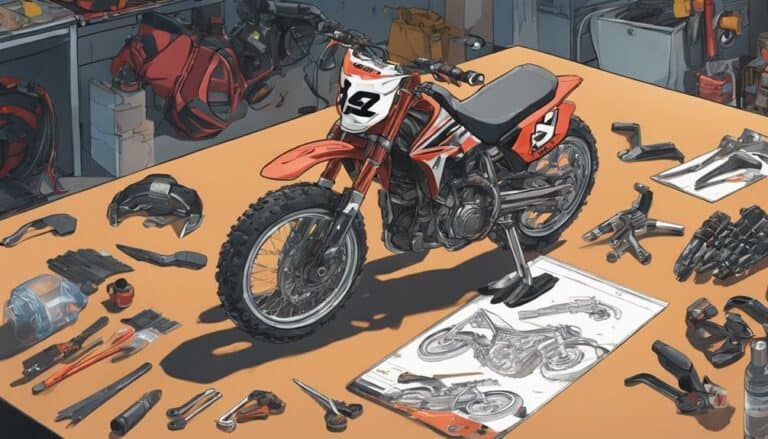
You've unboxed the Razor dirt bike and gathered the necessary tools, now it's time to piece it all together. As you navigate through the assembly process, from attaching the handlebars to completing the pre-ride check, each step plays a pivotal role in ensuring a safe and enjoyable ride.
But what about the finer details? How do you fine-tune the bike to suit your preferences? Stay tuned to uncover the nuances of assembling a Razor dirt bike that go beyond the basic steps.
Key Takeaways
- Partially assemble components like handlebars and front fender
- Use specific tools provided for secure attachment
- Conduct pre-ride checks for safety and optimal performance
- Follow maintenance guidelines for long-lasting enjoyment
Unboxing the Razor Dirt Bike
Upon opening the box of your Razor dirt bike, you'll find the components partially assembled, requiring further attachment of key parts like the handlebars, front fender, and number plate using essential tools.
The front fender, a critical part for shielding against debris during your rides, needs to be precisely attached to make sure of protection. Begin by aligning the front fender with the designated mounting points on the bike frame. Use the provided bolts and an allen wrench to secure the fender firmly in place. Make sure that the bolts are tightened securely to prevent any wobbling or misalignment during your rides.
Proper installation of the front fender not only enhances the aesthetic appeal of your Razor dirt bike but also plays an important role in maintaining your bike's longevity by protecting vital components from mud, water, and other external elements. Take your time to align and fasten the front fender accurately to guarantee a safe and enjoyable riding experience.
Parts and Tools Required
Gather the necessary parts and tools to efficiently assemble your Razor dirt bike. Verify you have the following items ready:
- Assembly Tools:
- 5mm allen wrench
- 6mm allen wrench
- 10mm open-end wrench
- Electric tire pump
- Manual tire pump
- Required Parts:
- Handlebars
- Front fender
- Number plate
- Assembly Process:
- Attach the handlebars using handlebar brackets and a 6mm allen wrench, ensuring even tightening for a secure attachment.
- Fasten the front fender to the fork using a 5mm allen wrench and a 10mm open-end wrench, verifying a secure fit.
- Install the number plate by running wires through a hole, aligning tabs with fork holes, and pressing tabs for a secure attachment; no tools are needed for this step.
Having these parts and tools ready will streamline the assembly process and help you put together your Razor dirt bike with ease.
Step-by-Step Assembly Guide
Begin by securely attaching the handlebars using handlebar brackets and tightening the bolts with a 6mm allen wrench. This is the first thing you should do to ensure proper steering control.
Next, attach the front fender by removing the nut, inserting the bolt through the fork hole, and securing it with a 5mm allen wrench and 10mm open-end wrench. This step is important for protecting you from mud and debris while riding.
After that, securely attach the number plate by running wires through the hole and pressing tabs until they click into place. This not only adds a stylish touch but also helps with bike identification.
Remember to conduct a pre-ride check by inflating tires to 45 psi using a tire pump and ensuring the battery is fully charged for best performance.
Following these precise assembly steps is essential to guarantee all components are securely attached before enjoying your Razor dirt bike adventure.
Safety Precautions to Consider
For maximum safety when operating your Razor dirt bike, always make sure you're equipped with appropriate safety gear like a helmet, gloves, and sturdy shoes. To further enhance your safety while riding, make sure to:
- Inspect Your Bike Regularly: Check for loose bolts, worn-out parts, or any signs of damage that could guarantee your safety. Address any issues promptly to prevent accidents.
- Follow Age and Weight Guidelines: Adhere to the recommended age and weight specifications for the dirt bike to guarantee safe operation and prevent potential mishaps.
- Avoid Hazardous Conditions: Steer clear of riding on wet or slippery surfaces, crowded areas, or steep inclines, as these conditions can increase the risk of accidents. Always opt for safe riding environments to enjoy your Razor dirt bike responsibly.
Testing and Troubleshooting
To guarantee the proper functionality of your Razor dirt bike, start by thoroughly testing the throttle and brakes before setting off on a ride. Checking the battery maintenance is important to make sure a smooth and uninterrupted ride. Here is a table summarizing key testing and troubleshooting steps:
| Testing and Troubleshooting | Description | Action |
|---|---|---|
| Throttle and Brakes | Test for responsiveness and effectiveness. | Twist throttle and apply brakes to check functionality. |
| Battery and Charging | Check connections and follow manufacturer guidelines. | Inspect battery for any damage and make sure proper charging. |
| Tires | Inspect for leaks or damage that could affect performance. | Check tire pressure and look for any visible damage. |
| Motor | Listen for unusual sounds or vibrations. | Start the bike and listen for any abnormal noises. |
| Bolts and Screws | Ensure all are tight to prevent parts from coming loose. | Use appropriate tools to tighten any loose bolts. |
Conclusion
Congratulations on successfully assembling your Razor dirt bike! Remember, 'measure twice, cut once' – always double-check your work to make sure everything is secure and properly assembled.
Safety is key when riding, so make sure to follow all precautions and guidelines before hitting the trails.
Enjoy the thrill of riding your new dirt bike and have fun exploring the great outdoors!

