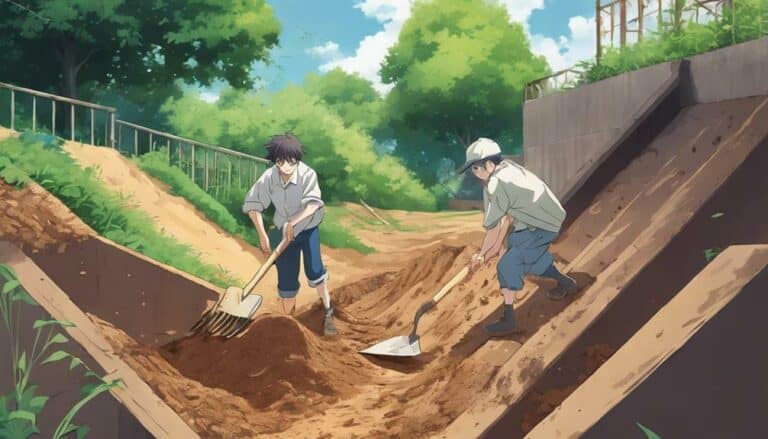
Imagine sculpting the earth into a canvas that propels you to new heights. As you prepare to commence on the journey of constructing a dirt mountain bike jump, there are essential steps to follow.
From selecting the ideal location to perfecting the slope angles, each detail plays a vital role in your jumping experience. Stay tuned to discover the secrets behind crafting a jump that not only elevates your biking skills but also safeguards your safety and enjoyment.
Key Takeaways
- Proper shaping of ramps ensures rider safety and performance.
- Regular maintenance is crucial for jump durability and rider safety.
- Different jump types require specific construction techniques for stability.
- Inspection, filling gaps, and smoothing surfaces are essential for jump longevity and safety.
Planning and Preparing for the Jump
When initiating on the thrilling endeavor of constructing a dirt mountain bike jump, begin by carefully selecting a flat area that spans at least 30 feet in length. This will provide ample space for both the dirt jump and a suitable landing area. Consider the amount of dirt needed based on the size and shape of the jump you plan to build. Quality hard dirt is essential for longevity and safety, so make sure you have access to the right materials before starting.
To build a mountain bike jump successfully, gather the tools you'll need, such as shovels, rakes, and a wheelbarrow. These tools will make the construction process more manageable and efficient. Remember to grade the ground around the jump to prevent pits and maintain trail integrity. Obtaining permission before building is vital to ensure compliance and maintain positive relationships with landowners. By following these steps and being well-prepared, you'll be on your way to creating a thrilling dirt jump for mountain biking adventures.
Shaping the Dirt Jump
To shape the dirt jump effectively, begin by soaking the ramps with a garden hose to maintain their structure and prevent erosion. Use a shovel to reshape the ramps if they start losing their form, ensuring a smooth and consistent surface. Allow the reshaped ramps to harden for at least 2 days before riding on them to guarantee stability and durability. Press the bike wheel into the take-off ramp to flatten it and create a suitable launch pad for jumping. Properly shaping and maintaining the dirt jump ramps is essential for rider safety and peak performance.
| Dirt Jump Shaping Tips | |
|---|---|
| Soak ramps with a garden hose | Maintain structure and prevent erosion |
| Reshape ramps with a shovel | Ensure a smooth and consistent surface |
| Allow ramps to harden for 2 days | Guarantee stability and durability |
Building the Landing
Crafting a sturdy and reliable landing for your dirt mountain bike jump requires meticulous attention to detail and solid construction techniques. Just like with the take-off, the landing is a critical component of your mountain bike trail. Trail builders often use the same construction process for both the take-off and landing to guarantee consistency in the jump's performance.
Regular inspection of the landing is necessary to assure its durability and safety for riders. A well-built landing not only enhances the overall trail experience but also contributes to the longevity of the jump itself. Maintenance is key, as a properly maintained landing assures the safety and enjoyment of all riders using the dirt jump.
Whether you're building a jump in your backyard or designing one for a Bike Park, the construction process of the landing is essential for a successful and thrilling mountain biking experience.
Constructing Different Types of Jumps
For creating different types of jumps on your dirt mountain bike trail, consider utilizing varying construction techniques to guarantee top performance and safety for riders.
When aiming to build a tabletop jump, start by creating a solid foundation using branches and logs, packing down earth on the logs in the center.
For small doubles, gradually remove dirt from the middle, pull out the logs, and smooth out the jump for potential reuse of materials.
If you're constructing big doubles, plan out the dimensions, pile logs for the foundation, shape the landing with dirt, and make sure the take-off slope is properly built.
Key techniques include piling dirt on logs, compacting for stability, shaping the landing higher than the take-off for step-ups, and designing a 5ft high take-off with the right curve.
Remember to smooth out the landing, widen the base for stability, and layer dirt on logs for various types of dirt mountain bike jumps.
Finishing Touches and Maintenance
Inspect your dirt mountain bike jump regularly to ascertain its safety and longevity by checking for erosion, loose dirt, or signs of wear and tear. To maintain the jump, make sure to fill in any gaps or holes with the best materials to preserve its shape and structural integrity.
Smooth out any rough or uneven surfaces to prevent accidents and guarantee a seamless ride experience. It's essential to remove debris and obstacles from the jump area to minimize hazards and provide a clean riding environment.
Additionally, periodically re-compact the jump to keep it firm and stable, ensuring consistent performance and rider safety. By following these maintenance steps, you can prolong the life of your dirt mountain bike jump and enjoy a smoother, safer riding experience every time you hit the trail.
Conclusion
So, now that you've built your dirt mountain bike jump, get ready to soar through the air like a pro!
Just remember, the key to success is practice, patience, and maybe a few Band-Aids for those inevitable wipeouts.
But hey, who said conquering gravity was easy?
Keep on riding, keep on jumping, and most importantly, keep on having fun out there on your new dirt masterpiece!

