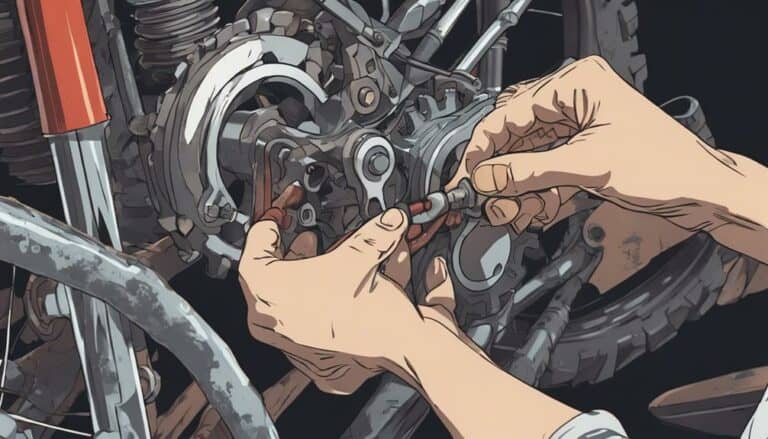
When it comes to changing a steering head bearing on your dirt bike, remember the saying, 'Smooth seas do not make skillful sailors.'
Exploring through the process of disassembling and replacing these important components may seem challenging at first, but with the right guidance and tools, you'll soon have your bike ready to tackle any terrain.
From evaluating the condition of the old bearings to confirming proper alignment during installation, each step plays a critical role in the performance of your ride.
So, let's start on this maintenance journey together and guarantee your dirt bike is ready to conquer new challenges on the horizon.
Key Takeaways
- Properly clean and remove old bearings for smooth replacement.
- Ensure precise installation of new bearings for optimal function.
- Adjust steering head bearings carefully for improved handling.
- Test and inspect bearings thoroughly for safety and performance.
Tools and Materials Needed
You'll need a bearing packer, pipe, punch, and hammer to successfully change a steering head bearing on a dirt bike. These tools are essential for disassembling and reassembling the components of the steering head. The bearing packer guarantees that grease is evenly distributed within the bearings, promoting longevity and smooth functionality. The pipe can be used as a drift to install the new bearings and races accurately. A punch and hammer are necessary for removing the old races without damaging the steering head.
In addition to the tools, you'll require new tapered bearings, bearing races, and dust seals. These materials are vital for replacing the worn-out components and restoring the steering head's performance. Making sure you have access to a vapor blaster for cleaning parts effectively is important to remove any grime or debris that could affect the new bearings' functionality. Having a sturdy support for the triple tree during installation is also key to maintaining proper alignment and stability. Properly packing the bearings is essential to guarantee the smooth operation of the steering head on your dirt bike.
Removing the Old Bearings
To remove the old bearings, start by loosening the top nut and spanner nut to initiate the disassembly process. Once these nuts are loosened, you can proceed with removing the old bearing races. You have two options for this step: you can either use a bearing puller for a more controlled extraction, or if you don't have one, a hammer and punch can also get the job done. Remember to exercise caution during this process to avoid causing any damage to the steering stem or triple tree.
After successfully removing the old bearings, take the time to clean the area thoroughly. This will make sure that the surface is free from any debris or old grease, creating a clean and best environment for installing the new bearings later on. By following these steps diligently, you're well on your way to completing this maintenance task and getting your dirt bike back on the trail. Once you finish this step, you'll be ready to move on to the installation of the new bearings.
Installing the New Bearings
For precise installation of the new bearings, confirm proper greasing using a bearing packer to evenly distribute grease within them.
Before installing the new bearings, make sure the bearing races are clean and free of debris. It's important to make sure that the new bearing races are securely seated in the frame to prevent any movement or misalignment.
When tapping the new bearings into place, do so gently and evenly using a pipe to avoid damaging the components. Double-check the alignment and smooth rotation of the new bearings to guarantee everything is in order before proceeding with the final assembly.
Making sure the races are okay and securely seated will prevent any issues down the line. By following these steps diligently, you can be confident in the installation of your new steering head bearings.
Adjusting the Steering Head Bearings
To guarantee precise handling and control of your dirt bike, exact adjustment of the steering head bearings is essential. If you notice any play in the bearings, tighten the top nut gradually until the play is eliminated. This will result in a smoother and more responsive steering experience.
Conversely, if there's resistance or stiffness in steering, consider loosening the top nut slightly to prevent binding of the bearings. After making adjustments, check for any wobbling or looseness in the handlebars.
Regular inspection and maintenance of the steering head bearings are critical to prevent premature wear and ensure peak performance. By taking the time to adjust the steering head bearings correctly, you can enjoy improved handling and a safer riding experience on your dirt bike.
Testing the Steering Head Bearings
Perform the 'push-pull' test on the steering head bearings to assess for any play or movement, guaranteeing maximum functionality and safety while riding.
Next, test for smooth rotation by turning the handlebars from lock to lock without encountering any binding, which could indicate issues with the bearings.
Inspect the steering head bearings for notchiness or roughness when turning the handlebars, as these signs may point to worn or damaged bearings.
Listen attentively for any abnormal noises like grinding or clicking while moving the handlebars, as these sounds could be indicative of underlying bearing problems.
Additionally, conduct a visual inspection for any visible signs of wear, corrosion, or damage on the steering head bearings.
Conclusion
In summary, changing the steering head bearing on a dirt bike is a manageable task with the right tools and knowledge.
By following the outlined steps and utilizing the appropriate techniques, you can guarantee smooth and reliable steering for your bike.
Remember, just like a well-tuned engine, a well-maintained steering head bearing is essential for peak performance on the trails.
So, grab your tools and get ready to ride with confidence!

