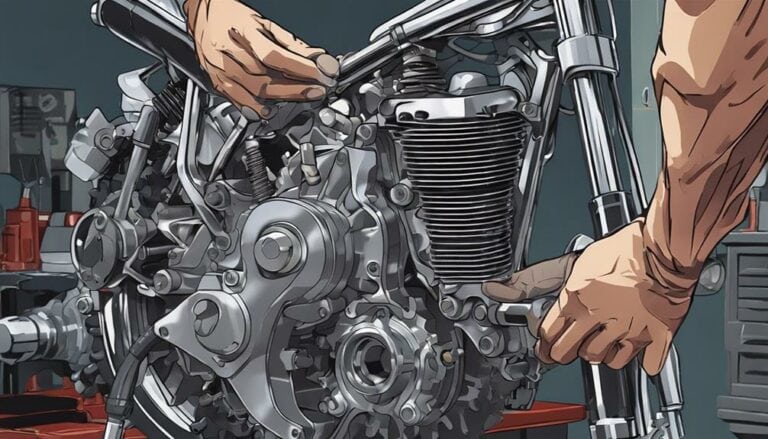
Imagine the connecting rod as the beating heart of your 2-stroke dirt bike, crucial for its smooth performance.
Now, when it comes to replacing these crucial components, precision and attention to detail are paramount.
But what if you encounter unexpected challenges or complications along the way?
Stay tuned to discover expert tips and tricks that will guide you through the process seamlessly, ensuring your dirt bike is back on track in no time.
Key Takeaways
- Gather tools and materials, wear safety gear, and follow torque specs for connecting rod replacement.
- Drain fluids, support engine, and inspect mounting points when removing the engine.
- Carefully disassemble the top end, inspect piston, rings, and pin.
- Choose correct connecting rod, lubricate components, align properly, and test for smooth operation.
Tools and Materials Needed
To begin changing the connecting rods on a 2-stroke dirt bike, gather the necessary tools and materials as outlined below. Make sure your tools are in top condition by checking for wear and proper functioning. It's essential to maintain tool maintenance for best performance. Before diving in, don't forget safety precautions like wearing safety goggles to protect your eyes from debris.
Proper torque is key when working on connecting rod cap bolts. Utilize a torque wrench and consult the service manual to identify specific torque values for these bolts. Over-tightening can lead to damage while under-tightening can cause the bolts to come loose during operation.
Lubrication techniques are also important. Use engine oil and lubricant to ensure smooth operation of the new connecting rod and bearings. Apply gasket sealant carefully to prevent leaks and maintain a secure connection.
Removing the Engine
After confirming that the engine oil and coolant have been drained and all necessary components disconnected, proceed to unbolt the engine from the frame using the appropriate tools. Prioritize safety by supporting the engine with an engine hoist to avoid accidents. Carefully inspect the engine mounting points for any signs of wear or damage that could affect reinstallation.
Take precautions to prevent any strain on the engine during removal. Support the engine evenly to avoid imbalance. As you slide the engine out of the frame, be vigilant to make sure no wires or hoses are caught or left behind. Once detached, place the engine on a stable work surface for further work.
Disassembling the Top End
When disassembling the top end of a 2-stroke dirt bike, start by carefully removing the cylinder head and piston to access the connecting rod. Use a socket wrench to loosen and remove the bolts holding the cylinder head in place. Once removed, carefully lift off the cylinder head to reveal the piston connected to the connecting rod. Push the piston out of the cylinder with caution to expose the lower end of the connecting rod. Now, you can inspect the piston for any signs of wear or damage and perform necessary maintenance on the cylinder head.
| Piston Inspection | Cylinder Head Maintenance |
|---|---|
| Check for wear marks or scuffs on the piston surface. | Inspect the cylinder head gasket for any leaks or damage. |
| Look for piston ring wear or damage. | Clean the cylinder head and valves thoroughly. |
| Ensure the piston pin moves freely without any binding. | Check the cylinder head for warping or cracks. |
Replacing the Connecting Rod
Inspect the new connecting rod carefully before installation to guarantee it meets the manufacturer's specifications for best performance and fitment.
When replacing the connecting rod on your 2-stroke dirt bike, follow these tips for a successful installation:
- Rod Selection: Choose a connecting rod that matches the exact specifications provided by the manufacturer to ensure peak performance and compatibility with your engine.
- Installation Tips: Utilize a torque wrench to tighten the connecting rod cap bolts to the recommended torque setting. This will help maintain proper alignment and prevent any issues during engine operation.
- Maintenance: Apply assembly lubricant to the new bearings and connecting rod to reduce friction and ensure smooth movement within the engine. This simple step can enhance the longevity of your components and improve overall performance.
Assembling and Testing
Before proceeding with assembling and testing the new connecting rod on your 2-stroke dirt bike, make sure that all components are clean and free of debris for best performance and longevity.
Begin by confirming the new connecting rod is adequately lubricated to prevent friction and wear. Tighten the connecting rod cap bolts to the manufacturer's specified torque to maintain structural integrity.
Check the alignment of the connecting rod to guarantee smooth operation and prevent potential engine damage. Once reassembled, start the motorcycle and pay close attention to any unusual noises or vibrations that may indicate issues with the connecting rod.
Conduct a brief test ride to confirm the connecting rod's functionality. Monitor for leaks or any irregularities in performance during this test ride.
If you encounter any issues, refer to troubleshooting techniques to identify and resolve potential problems promptly. By following these testing procedures and troubleshooting techniques, you confirm a safe and efficient assembly of the connecting rod on your dirt bike.
Conclusion
Now that you have successfully changed the connecting rods on your 2-stroke dirt bike, your engine is like a well-oiled machine ready to conquer any terrain.
Remember to always follow proper maintenance procedures and torque specifications to keep your bike running smoothly.
With the right tools and attention to detail, you can enjoy peak performance and longevity from your new connecting rods.
Happy riding!

