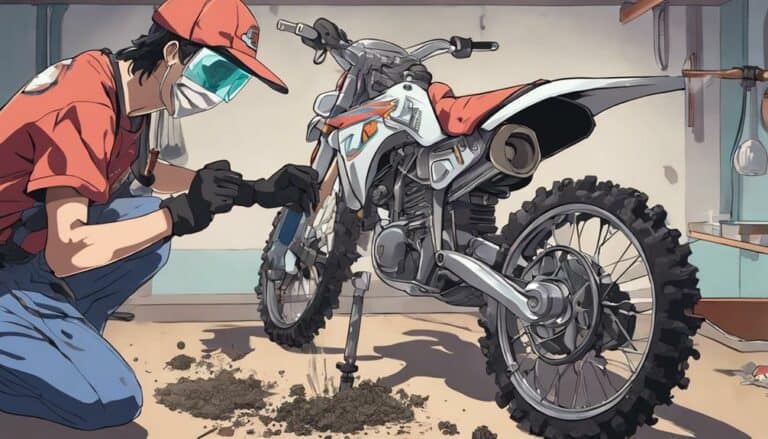
When it comes to maintaining your dirt bike carburetor, did you know that even the smallest speck of dirt can disrupt its performance? Ensuring your carburetor is clean is essential for top engine function.
But how exactly do you go about cleaning it effectively? Let's explore the step-by-step process to help you get your dirt bike running smoothly again.
Key Takeaways
- Regular carburetor cleaning is crucial for optimal dirt bike performance and longevity.
- Proper cleaning prevents fuel flow issues and common carburetor problems.
- Essential tools include screwdrivers, carburetor cleaner, and compressed air.
- Testing post-cleaning ensures smooth idling, acceleration, and overall engine performance.
Importance of Cleaning Carburetor
Regular maintenance of your dirt bike's carburetor is essential for top performance and longevity. Ensuring that your carburetor is clean and free of debris is vital in maintaining peak fuel flow, preventing clogs, and ultimately enhancing your bike's overall performance. By cleaning the carburetor regularly, you not only increase fuel efficiency but also extend the lifespan of your engine. Smooth idling and acceleration are also guaranteed when your carburetor is in pristine condition.
Neglecting the cleanliness of your carburetor can result in common problems such as clogged jets and dirty bowls, which can easily be avoided with routine maintenance. It's important to be vigilant for signs indicating a dirty carburetor, such as difficulty starting, poor throttle response, or fuel overflow. Proper cleaning involves inspecting and cleaning components like the bowl, jets, floats, and needle valve meticulously to ensure your dirt bike operates at its peak performance levels.
Tools Needed for Cleaning
To properly clean a dirt bike carburetor, gather essential tools such as a flathead screwdriver, Phillips screwdriver, carburetor cleaner, compressed air, safety gloves, and safety goggles. When preparing for the cleaning process, make sure you have all the necessary tools at hand to guarantee a smooth and efficient operation. Below is a table outlining the tools required for cleaning a dirt bike carburetor:
| Tools | Description | Purpose |
|---|---|---|
| Flathead screwdriver | Tool with a flat, wedged head | Loosening screws and adjusting parts |
| Phillips screwdriver | Tool with a cross-head tip | Removing screws and bolts |
| Carburetor cleaner | Solvent designed to clean carburetors | Removing grime and deposits |
| Compressed air | Air under pressure in a canister | Blowing out debris and blockages |
| Safety gloves | Protective gloves made of durable material | Shielding hands from chemicals and dirt |
| Safety goggles | Protective eyewear designed to cover eyes completely | Preventing eye irritation and injury |
Make sure to have these tools ready before proceeding with the carburetor cleaning process.
Steps to Remove Carburetor
When removing the carburetor from a dirt bike, make sure you first loosen the air filter connection and intake manifold for easier access. This step is important every time you work on your carburetor.
By disconnecting the gas line, you prevent any obstructions and guarantee a smooth removal process. Carefully unscrew the carburetor bolts, making sure not to strip them, to take out the carburetor without causing any damage. It's essential to handle this part with care every time to avoid costly repairs.
Once the carburetor is detached, inspect and clean the carburetor bowl thoroughly to eliminate any residue buildup. Remember to access the main jet, pilot jet, and floats inside the carburetor to clean and check for blockages or other issues.
Following these steps every time will help maintain your dirt bike's performance and ensure a smooth riding experience.
Cleaning and Reassembling Carburetor
Consider utilizing a small brush or compressed air to carefully clean the main jet and pilot jet inside the carburetor to guarantee peak fuel flow. It's essential to never overlook these components as they directly impact fuel delivery to the engine.
Inspect the jets for any clogs or debris that could disrupt the fuel mixture. Once cleaned, check and adjust the float settings if needed to prevent fuel overflow or insufficient fuel levels.
Take the time to make sure the needle valve is spotless and functioning correctly to regulate the fuel flow effectively. When reassembling the carburetor, pay close attention to aligning and securing all parts properly.
Double-check gaskets and screws to avoid any potential leaks or issues post-cleaning. Following these meticulous steps will help maintain the carburetor in top condition, ensuring your dirt bike runs smoothly and efficiently.
Testing the Dirt Bike
After cleaning and reassembling the carburetor, the next step is to test the dirt bike to ascertain peak performance. Start by warming up the engine, letting it run for a few minutes.
Check the throttle response and acceleration to make sure the engine is running smoothly. Listen keenly for any unusual sounds or vibrations that could indicate underlying carburetor issues. Test the bike's idle speed, observing if it stays consistent without any fluctuations.
Take the dirt bike for a short ride to assess its overall performance and responsiveness. Pay close attention to how the bike handles and accelerates, noting any irregularities. Keep an ear out for any abnormal engine noises and feel for any unusual vibrations.
Conclusion
Congratulations, you've successfully cleaned your dirt bike carburetor!
Now your bike will run smoother than ever, leaving other riders in the dust.
Remember, neglecting your carburetor is like ignoring a hungry pitbull – it will bite back when you least expect it.
Keep up with regular maintenance to guarantee top performance and avoid being left stranded on the trails.
Happy riding!

