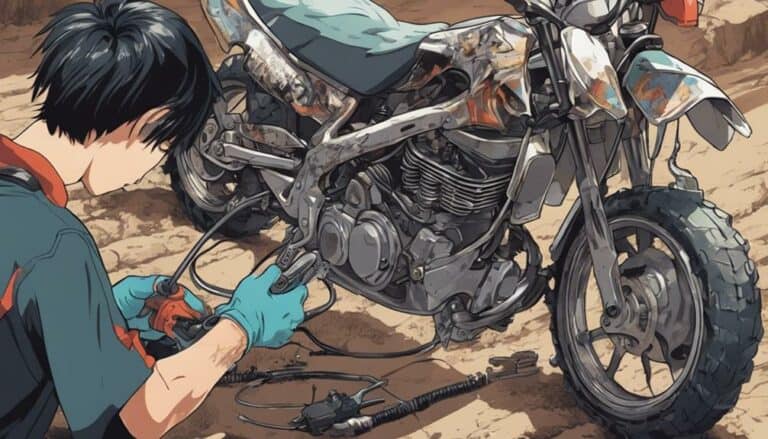
To tackle a troublesome throttle cable on your dirt bike, start by safeguarding safety measures.
Next, explore the inner workings of the cable, identifying the root cause of the break.
Once the issue is uncovered, you'll be equipped to address it effectively.
Stay tuned to discover the step-by-step process to rectify this common dirt bike dilemma.
Key Takeaways
- Inspect throttle cable for damage like fraying or kinks.
- Gather necessary tools like pliers and cable lubricant.
- Remove old cable carefully without causing damage.
- Install new cable correctly with proper routing and tension.
Assessing the Throttle Cable Damage
To begin evaluating the throttle cable damage on your dirt bike, visually inspect the cable for any visible signs of fraying, kinks, or breaks. Check if the throttle cable is properly seated and connected to both the throttle tube and carburetor.
Make sure that there's no slack or resistance when testing the throttle response by twisting the throttle. It's important to make sure that the cable housing is free from any damage or wear that could impact the cable's functionality.
If you notice severe damage to the throttle cable during this inspection, consider replacing it with a new cable to guarantee the safe operation of your dirt bike. Remember that if you're unsure about conducting these assessments yourself, it might be best to seek assistance from a professional repair shop to avoid any further complications.
Gathering the Necessary Tools
Inspect the broken throttle cable on your dirt bike to identify the extent of the damage and pinpoint the location of the break or damage. Once you have assessed the issue, gather the necessary tools for the repair process. Organize your tools such as pliers, screwdrivers, cable lubricant, cable ends, and a soldering iron in a way that they're easily accessible.
Make sure to have spare inner cables, ferrules, and soldering equipment ready for any emergency repairs. Before starting the repair, apply cable lubricant to guarantee smooth movement of the throttle cable post-repair. Additionally, remember to maintain your cables regularly to prevent future issues.
When setting up your workspace, guarantee it's clean, well-lit, and free of clutter to work on fixing the throttle cable effectively and safely. Familiarize yourself with soldering techniques as they may be necessary during the repair process. Having an emergency repair kit handy can save you from being stranded if the throttle cable breaks during a ride.
Removing the Old Throttle Cable
After locating the throttle cable on your dirt bike, connected to the throttle grip and carburetor, proceed by loosening the cable adjusters and disconnecting the cable from the components.
To make sure proper removal, take the necessary safety precautions by wearing gloves to protect your hands from any sharp edges. Remove any cable housing or brackets that may be securing the throttle cable in place.
Once these are off, carefully pull the old throttle cable out of the housing and brackets, making sure not to damage the surrounding components. During this process, inspect the old throttle cable for any signs of wear or damage. Look for fraying, kinks, or any other issues that could impact the performance of your dirt bike.
If you notice any problems, it's essential to address them before installing the new throttle cable to make sure optimal functioning.
Installing the New Throttle Cable
Begin by securing the new throttle cable to the throttle housing and routing it along the designated path on the handlebars and frame. To guarantee a smooth installation process, follow these steps:
- Cable Lubrication: Before installing, lubricate the new throttle cable to reduce friction and enhance its lifespan.
- Cable Routing: Make sure to route the cable correctly along the handlebars and frame, avoiding any sharp bends or areas where it could get pinched.
- Cable Tension: Adjust the cable tension as per the manufacturer's specifications to achieve the best throttle response.
- Connection Check: Double-check all connections to guarantee they're secure and correctly aligned with the carburetor and throttle body.
- Routing Inspection: Inspect the routing of the cable once more to confirm there's no interference or binding that could affect throttle operation.
Testing the Throttle Response
To evaluate the throttle response after installing the new throttle cable, initiate the dirt bike and test the throttle for immediate and smooth operation. Start the dirt bike and twist the throttle, observing how the bike responds. Check for any delays, sticking, or lack of response when adjusting the throttle.
Test the throttle response at different levels of throttle opening to identify any inconsistencies. Pay attention to any unusual noises or vibrations emanating from the throttle system during operation. Compare the throttle response to the bike's typical performance to determine if there's an issue with the throttle cable.
If you notice any irregularities, further throttle cable troubleshooting may be necessary. Conduct throttle response diagnostics and consider tuning methods to address any issues. Remember to perform regular throttle cable maintenance and keep these troubleshooting tips in mind for peak dirt bike performance.
Conclusion
Congratulations! You've successfully fixed the broken throttle cable on your dirt bike. Now your ride will be as smooth as butter on a hot skillet.
Keep on shredding those trails with confidence, knowing that you have the skills to tackle any mechanical issue that comes your way.
Ride on!

