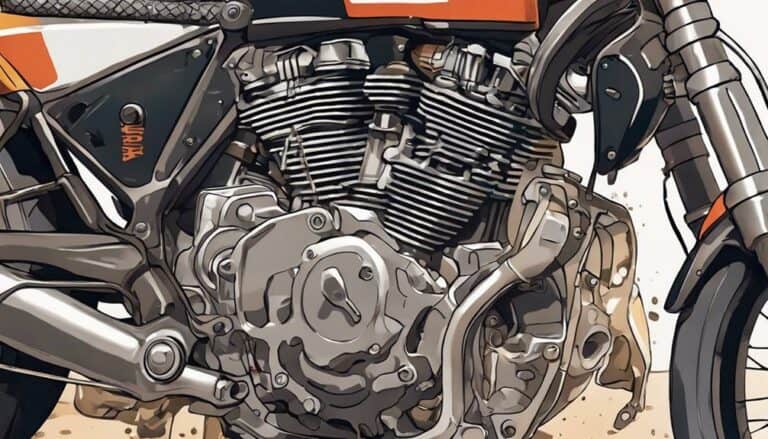
Picture yourself cruising down a rugged trail, the engine purring beneath you, when suddenly you notice ominous oil drips seeping from the engine case.
Don't panic just yet; fixing an oil gasket leak on your dirt bike can be manageable with the right approach. By following a few straightforward steps and having the necessary tools at hand, you can tackle this issue effectively.
Stay tuned to discover the practical techniques that will get you back on the trail in no time.
Key Takeaways
- Thoroughly inspect for oil leaks around gasket seals on both sides of the engine.
- Gather necessary tools like a socket wrench set and a new gasket for the repair.
- Remove the old gasket carefully after draining the oil and clean mating surfaces.
- Install the new gasket with sealant, tighten bolts evenly, and test for leaks post-repair.
Identifying the Oil Gasket Leak
To pinpoint the oil gasket leak on your dirt bike, carefully inspect both sides of the engine case for any signs of oil seepage or drips. Begin by cleaning the engine thoroughly to remove any dirt or grime that could obscure the source of the leak.
Once clean, start the engine and let it run for a few minutes, then turn it off and allow it to cool. Check for any fresh oil drips, paying close attention to areas around the gasket seals. Look for oil pooling or streaks, as these can indicate the location of the leak.
If you notice oil seeping from the gasket area, it's likely the source of the leak. Remember that oil leaks can sometimes be deceptive, so a thorough inspection is important to accurately identify the gasket leak.
Gathering Necessary Tools and Materials
Inspect the tools and materials required for fixing an oil gasket leak on your dirt bike, ensuring you have a socket wrench set, gasket scraper, new gasket, and engine oil ready for the repair. It's crucial to have the correct gasket for your specific dirt bike model to guarantee a proper fit and seal.
A clean work area and gloves are essential to prevent any dirt or contaminants from affecting the gasket seal. Consulting your dirt bike's manual for specific instructions on accessing and replacing the gasket is highly recommended. Double-check that you have all the necessary tools and materials before starting the repair to avoid interruptions.
- Socket wrench set
- Gasket scraper
- New gasket
- Engine oil
- Clean work area and gloves
Removing the Old Gasket
Begin by draining the oil from the engine using the drain bolt located at the bottom of the engine. Once the oil is drained, proceed to remove the necessary bolts to access the engine cover where the old gasket is located. Carefully detach the engine cover to reveal the old gasket that needs to be replaced.
| Steps to Remove the Old Gasket |
|---|
| 1. Drain oil from the engine using the drain bolt. |
| 2. Remove bolts to access the engine cover. |
| 3. Detach the engine cover to reveal the old gasket. |
| 4. Clean gasket mating surfaces on the engine cover and block. |
| 5. Inspect the old gasket for damage before installing the new gasket. |
Make sure to clean the gasket mating surfaces on both the engine cover and engine block meticulously to guarantee a proper seal when installing the new gasket. Inspect the old gasket for any signs of damage or wear to prevent future leaks. By following these steps, you will effectively remove the old gasket and prepare for the installation of the new one.
Installing the New Gasket
Consider utilizing a lubricant or silicone spray to aid in positioning the new gasket onto the engine surfaces with ease and precision. Before installing the new gasket, confirm to clean the engine surface thoroughly to remove any debris that could affect the seal.
Follow these steps for a successful installation:
- Apply Gasket Sealant: Apply a thin, even layer of gasket sealant on both sides of the new gasket to guarantee a proper seal.
- Align Gasket Carefully: Carefully align the new gasket with the engine surfaces, verifying it fits securely and in the correct orientation.
- Tighten Bolts Correctly: Tighten the bolts in a crisscross pattern to evenly distribute pressure and prevent leaks.
- Allow Cure Time: Allow the gasket sealant to cure according to the manufacturer's instructions before starting the engine.
- Check for Leaks: Once the sealant has cured, start the engine and check for leaks to ensure the gasket is properly installed.
Following these steps will help you successfully install the new gasket and prevent future oil leaks.
Testing for Leaks and Final Checks
Once the new gasket has been installed, proceed to conduct a thorough pressure test on the engine to detect any remaining oil gasket leaks. Attach a pressure tester to the engine's oil system and pump a little bit more pressure than the operating level. Listen for any hissing sounds indicating a leak.
Next, use a flashlight to inspect the engine meticulously for any signs of oil leaks after reassembly. Check all around the gasket area for any oil seepage. Additionally, look for oil drips or puddles underneath the bike to confirm the gasket is properly sealed.
Start the engine and monitor for any new oil leaks around the gasket area. Observe closely for any oil leaks forming.
Conclusion
Now that you have successfully installed the new gasket and tested for leaks, you may be wondering: is your dirt bike ready to hit the trails again with confidence?
Remember, regular maintenance is key to keeping your bike running smoothly. Stay vigilant for any signs of future leaks and address them promptly to prevent any further damage.
Ride on, but always prioritize the health of your dirt bike.

