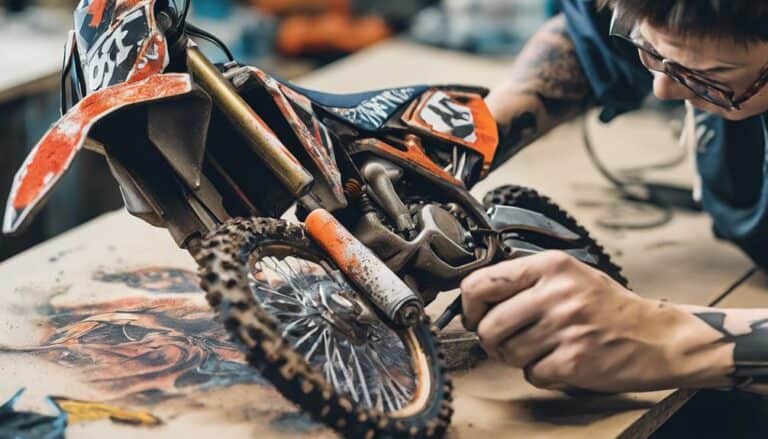
If you've been struggling to keep your old dirt bike graphics in place, you're not alone. Did you know that using the right adhesive can increase the longevity of your graphics by up to 50%? Imagine being able to hit the trails without worrying about your graphics peeling off mid-ride.
Stay tuned to discover the key techniques and products that will guarantee your dirt bike graphics stick like they're brand new, reviving your bike's aesthetic appeal effortlessly.
Key Takeaways
- Choose 3M 77 or 3M 90 adhesives for strong bonding on dirt bike graphics.
- Clean surfaces with acetone and use a heat gun for optimal adhesion.
- Apply graphics carefully, ensuring proper alignment and thorough smoothing.
- Maintain graphics with regular cleaning, quality adhesives, and protective measures for longevity.
Choosing the Right Adhesive
When selecting the perfect adhesive for reapplying old dirt bike graphics, opt for 3M 77 or 3M 90 for best results. These adhesives are trusted for their strong bonding capabilities, guaranteeing your graphics stay in place even during the most rugged rides. Before applying the adhesive, make sure to clean the surface thoroughly with acetone to remove any dirt or residue that could hinder adhesion.
For stubborn graphics that don't stick well, consider using a heat gun to reactivate the adhesive. The heat helps the adhesive become more pliable, making it easier to stick the graphics securely. This method can breathe new life into your old graphics, giving your dirt bike a fresh look without the hassle of constantly readjusting them.
Head to hardware stores like Home Depot to find these reliable adhesives for your dirt bike graphics. By choosing the right adhesive and preparing the surface properly, you can guarantee long-lasting adhesion and a sleek appearance for your bike.
Preparing the Surface Properly
Wondering how to guarantee your dirt bike graphics stay put for the long haul? Properly preparing the surface is key to ensuring your new graphics adhere effectively. Start by cleaning the surface thoroughly with acetone to remove any dirt, oil, or adhesive residue. This step is vital for better adhesion and longevity of the graphics. Make sure the surface is completely dry to prevent bubbling or peeling of the graphics over time.
Next, use a heat gun to warm up the surface slightly. This will aid in the adhesion process, helping the graphics stick more effectively. Check for any existing adhesive residue or uneven surfaces that could affect how well the new graphics adhere.
Applying the Graphics Carefully
To make sure your dirt bike graphics adhere flawlessly, smoothly shift from preparing the surface by applying the graphics carefully to guarantee a long-lasting bond. Here are some steps to ensure you apply the graphics with precision:
- Folding Lever: When positioning the graphics, gently fold back a small section of the backing paper to expose the adhesive, allowing you to align the graphic accurately without sticking it down fully.
- T-Handle Wrench: Use a T-handle wrench or a similar tool to press down on the graphic firmly, starting from the center and working your way outwards to ensure even adhesion.
- Sliding Sag: If needed, slide the graphic slightly to adjust its position before pressing it down firmly to avoid any misalignment.
- Soft/Intermediate Terrain: When applying the graphics on a soft or intermediate terrain bike, take extra care to smooth them out thoroughly to prevent premature peeling or lifting during rides.
Ensuring Proper Adhesion
For perfect adhesion of your dirt bike graphics, make sure the surface is meticulously cleaned with acetone before applying the adhesive. Acetone effectively removes any dirt, oil, or debris that could hinder the bonding process, ensuring a strong and long-lasting hold for your graphics.
Additionally, consider using a heat gun to reactivate old adhesive, creating a powerful bond between the surface and the graphics. When selecting an adhesive, opt for high-quality options like 3M 77 or 3M 90 for reliable re-sticking of old dirt bike graphics.
Proper surface preparation is key; make sure the area is free of any contaminants to prevent adhesion issues down the line. By following these steps and adhering to the manufacturer's instructions for the adhesive, you can maximize adhesion and enhance the longevity of your dirt bike graphics.
Maintaining and Protecting the Graphics
To maintain the vibrant appearance and longevity of your dirt bike graphics, regular cleaning and protective measures are essential. Here are some key tips to help you maintain and protect your graphics effectively:
- Clean the surfaces: Thoroughly clean the surfaces with acetone before reapplying adhesive to guarantee better adhesion.
- Use 3M spray adhesives: Opt for 3M 77 or 3M 90 spray adhesives to effectively re-stick old dirt bike graphics.
- Utilize heat guns: Heat guns can help reactivate the adhesive on old graphics, leading to a stronger bond.
- Ensure proper surface preparation: Properly preparing the surface and choosing the right adhesive are critical factors in ensuring old dirt bike graphics stick effectively.
Conclusion
Now that you've learned how to make old dirt bike graphics stick, remember that using the right adhesive is key.
Did you know that using the proper adhesive can increase the longevity of your graphics by up to 50%?
So next time you're working on your dirt bike, make sure to follow these steps for a longer-lasting and more visually appealing ride!

