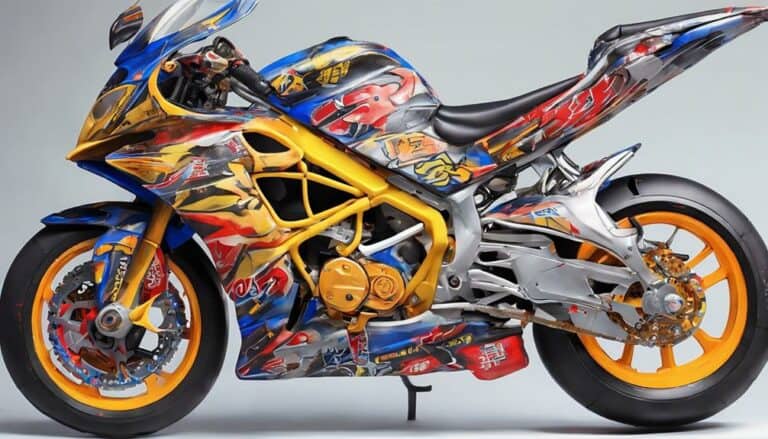
When it comes to painting plastic dirt bike fairings, it can feel like a challenging task at first, but with the right approach, you can achieve a professional-looking finish.
Starting with proper preparation is key to ensuring the paint adheres well and lasts longer. However, the real secret lies in the choice of paint and application technique.
By following a few essential steps and techniques, you can transform your worn-out fairings into a fresh and vibrant look that will surely make your dirt bike stand out.
Key Takeaways
- Sand, prime, and paint fairings with plastic-specific products for durability and adhesion.
- Choose paint compatible with plastics, providing a glossy finish and clear coat protection.
- Apply multiple thin coats with proper curing times to prevent runs and ensure a smooth finish.
- Maintain fairings with gentle cleaning, protective wax, and regular inspections for touch-ups and UV protection.
Preparing the Plastic Fairings
Before you begin painting your plastic dirt bike fairings, sand them with 320-grit paper to guarantee a smooth surface for prime paint adhesion. This step is essential in creating a bond between the plastic surface and the paint. After sanding, it's recommended to use an adhesion promoter to further enhance this bond.
Next, clean the fairings with acetone to eliminate any grease or residue that could interfere with the painting process. Once the fairings are clean, apply two coats of undercoat, making sure to observe proper flash periods between each coat. These undercoats will provide a smooth base for the final paint application.
Remember to inspect the fairings thoroughly to ensure they're completely clean and free of any dust particles before proceeding with the painting process. By following these steps diligently and applying the necessary undercoats correctly, you'll set a solid foundation for a professional-looking paint job on your plastic dirt bike fairings.
Choosing the Right Paint
For best results when painting plastic dirt bike fairings, make sure to choose paint specifically formulated for plastics to guarantee proper adhesion and durability. When selecting the right paint, consider the following:
- Krylon Fusion: Known for its excellent bonding capabilities with plastic surfaces, Krylon Fusion is a popular choice among DIY enthusiasts and professionals alike.
- Krylon Plastic Paint: Another reliable option, Krylon Plastic Paint is specifically designed to adhere to plastic materials, providing a durable and long-lasting finish.
- Clear Coat Compatibility: Make sure the paint you choose is compatible with a clear coat for added protection and a glossy finish. Applying a clear coat over the paint not only enhances the appearance but also increases the durability of the finish, making it more resistant to scratches and environmental elements.
Applying Primer to Fairings
To properly prepare your plastic dirt bike fairings for painting, the initial step involves applying primer to enhance paint adhesion and durability. Before applying primer, make sure the fairing is clean and free of dust to achieve a professional finish.
It's recommended to apply two coats of undercoat with 15-minute flash periods in between for best adhesion. Lightly rubbing the undercoat after each application helps create a smooth surface for painting.
Proper application of primer is important as it provides a seamless foundation for the paint and clear coat to adhere to, ensuring a long-lasting and durable finish. By following these steps and allowing the primer to fully cure, you'll be one step closer to achieving a flawless paint job on your dirt bike fairings.
Painting the Fairings
Prepare the plastic dirt bike fairings for painting by sanding them with fine sandpaper to guarantee a smooth surface for the best paint adhesion. Once the fairings are sanded and cleaned, it's time to apply the paint.
Here's how to paint the fairings effectively:
- Apply Plastic-Specific Paint: Utilize a high-quality plastic-specific paint like Krylon Fusion for superior bonding and durability on the fairings.
- Multiple Coats Application: Apply several thin coats of paint with proper flash-off periods between each coat to assure an even and vibrant color finish. This technique prevents runs and blotchy areas on the fairings.
- Finish with Clear Coat: To enhance the appearance and provide added protection to the painted fairings, finish off with a clear coat. The clear coat adds a glossy finish and acts as a shield against scratches and UV damage.
Finishing Touches and Maintenance
When finishing the painting process on your plastic dirt bike fairings, attention to detail in maintenance is essential for preserving the appearance and durability of the painted surfaces. To maintain the finish, avoid abrasive cleaners and harsh chemicals that can damage the paint. Instead, regularly wash the fairings with mild soap and water to remove dirt and grime gently.
Consider applying a protective wax or sealant to enhance shine and provide a barrier against environmental elements. Periodically inspect the fairings for any damage such as chips or scratches, and touch up the paint as needed to prevent further deterioration.
For long-term preservation, store your dirt bike in a covered area or use a bike cover when not in use. This precaution protects the painted fairings from UV exposure, preventing potential fading. By following these maintenance tips, you can make sure that your plastic dirt bike fairings maintain their freshly painted look and stay in top condition for your next ride.
Conclusion
To sum up, painting plastic dirt bike fairings requires proper preparation, the right paint choice, and careful application techniques.
By following the steps outlined in this guide, you can achieve a professional-looking finish that will protect and enhance the appearance of your fairings.
Remember to take your time, apply multiple thin coats, and finish with a clear coat for added durability.
With attention to detail and patience, you can successfully paint your plastic dirt bike fairings.

