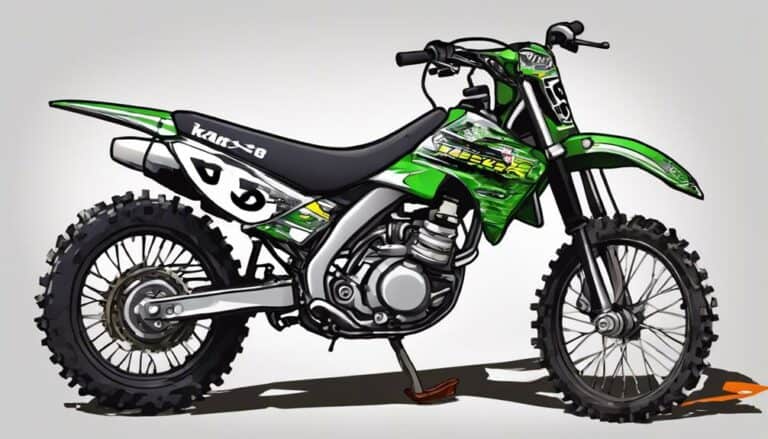
Wondering how to tackle the task of reinstalling the front wheel on your Kawasaki 65KX dirt bike? The process may seem challenging, but with a methodical approach and attention to detail, you can guarantee a smooth and secure installation.
From properly aligning the wheel to tightening the axle nut, each step plays an important role in maintaining the bike's performance and safety.
Stay tuned to discover the essential tips and tricks for a successful front wheel reinstallation on your Kawasaki 65KX dirt bike.
Key Takeaways
- Gather necessary tools: 17mm socket wrench, torque wrench, and rubber mallet.
- Ensure proper alignment: center wheel, check for wobbling, and avoid alignment errors.
- Tighten front axle correctly: follow torque specs, use torque wrench, and apply even pressure.
- Double-check alignment: measure distance between tire and fork legs, balance wheel, and confirm wobble-free spin.
Tools Required for Front Wheel Reinstallation
To guarantee a successful front wheel reinstallation on your Kawasaki KX65 dirt bike, gather the specific tools required, including a 17mm socket wrench, a torque wrench, and a rubber mallet. It's a good idea to have these tools readily available before starting the reinstallation process to ensure a smooth and efficient workflow.
The 17mm socket wrench is essential for removing the axle nut and securing the axle in place. When using the torque wrench, make sure to tighten the axle nut according to the manufacturer's recommended torque specification. This step is important in preventing over-tightening or under-tightening, which could lead to issues with the front wheel alignment and stability.
The rubber mallet plays a vital role in gently tapping the axle into place without causing any damage to the delicate components of the front wheel assembly. Having the right tools at your disposal is key to maintaining the best performance and safety of your Kawasaki KX65 dirt bike.
Removing the Front Axle
After making sure the front axle nut is loosened using a suitable wrench, proceed to release the front wheel by evenly loosening the four pinch bolts on the forks.
- Axle maintenance: When removing the front axle, make sure it's in good condition and free of any damage that may impact its performance.
- Proper lubrication: Before removing the axle, ensure it's adequately lubricated to facilitate smooth removal without any sticking or seizing.
- Front wheel: As you extract the axle, handle the front wheel with care to prevent any unnecessary strain on the components for continued smooth operation.
Aligning the Front Wheel
Begin the alignment process by carefully spinning the front wheel and inspecting for any signs of wobbling or misalignment. Proper alignment is essential for best performance and safety while riding your Kawasaki 65kx dirt bike. To make sure the wheel is centered between the fork legs, follow these wheel balancing techniques:
| Wheel Balancing Techniques | Common Alignment Mistakes | Front Wheel Maintenance Tips |
|---|---|---|
| Spin the wheel slowly | Misjudging center alignment | Regularly clean wheel bearings |
| Check for consistent spacing | Incorrectly adjusting the wheel | Inspect for any signs of damage |
| Adjust by gently pulling down | Neglecting proper alignment | Lubricate axle and fork pivots |
Avoid common alignment mistakes like misjudging the center alignment or incorrectly adjusting the wheel, as these can lead to premature tire wear and unstable handling. Regularly cleaning the wheel bearings, inspecting for damage, and lubricating the axle and fork pivots are essential front wheel maintenance tips to ensure a smooth and safe riding experience. After aligning the wheel, visually confirm the position relative to the fork legs before tightening all bolts securely.
Tightening the Front Axle
Gradually tightening the front axle nut to the manufacturer's recommended torque specification is crucial for guaranteeing proper wheel alignment and safety on your Kawasaki KX65 dirt bike. To tighten the front axle correctly, follow these steps:
- Proper torque: Utilize a torque wrench to apply the correct amount of force to the front axle nut. This guarantees the wheel is securely attached without the risk of over-tightening.
- Even pressure: Tighten the axle nut in small increments on both sides. This method helps distribute the pressure evenly, reducing the chances of misalignment and ensuring a stable ride.
- Safety first: Refer to the owner's manual for the specific torque value required for your Kawasaki KX65 dirt bike's front axle nut. Prioritize safety by adhering to the manufacturer's recommendations to maintain the integrity of the axle and fork components.
Double-checking Wheel Alignment
To guarantee precise wheel alignment on your Kawasaki KX65 dirt bike, meticulously observe the distance between the tire and fork legs while spinning the wheel. Make sure the wheel is balanced and the tire pressure is best before proceeding.
Check the centering of the wheel by measuring the distance from the tire's edge to the fork legs on both sides. Make minor adjustments by gently tapping the wheel to achieve the correct alignment. Verify alignment by spinning the wheel freely, making sure there's no wobbling or rubbing against the fork legs.
Double-check your work by testing the bike's handling and steering to confirm that the front wheel is installed correctly. If needed, make further fork adjustments to fine-tune the alignment.
Conclusion
Congratulations on successfully reinstalling the front wheel on your Kawasaki 65KX dirt bike. Remember, proper maintenance is key to ensuring peak performance and safety on the trails.
So next time, don't skip the necessary steps or rush through the process. Take your time to double-check everything, because in the world of dirt biking, a little attention to detail can prevent a whole lot of trouble down the road.
Happy riding!

