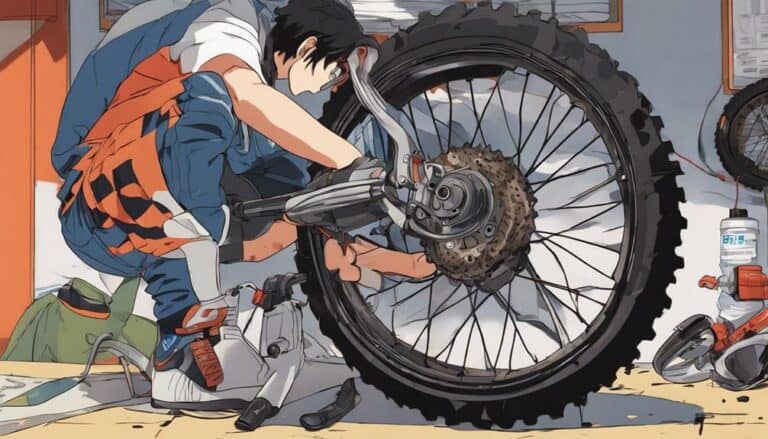
When initiating the maze of your dirt bike's inner tube replacement, the key lies in precision and patience.
As you commence on this mechanical journey, the intricate steps ahead will unravel the mysteries of tire maintenance.
From loosening the air to the final inflation, each move is pivotal.
So, prepare your tools and gear up for a hands-on experience that will keep your dirt bike rolling smoothly.
Key Takeaways
- Gather necessary tools and prepare the replacement area.
- Carefully remove and inspect the wheel and its components.
- Dispose of the old inner tube properly and assess damage causes.
- Install the new inner tube correctly and reassemble the wheel securely.
Preparing the Necessary Tools
To efficiently prepare for replacing a dirt bike inner tube, gather tire irons, a 12mm wrench, compressed air, a straight valve tool, and a bead lock if necessary. Before starting the replacement process, make sure you have all the tools readily available for a smooth operation.
Start by locating your tire irons, as these will be essential for removing the tire from the rim. The 12mm wrench comes in handy for loosening the axle nut and removing the wheel safely. Compressed air will assist in seating the new inner tube properly within the tire. A straight valve tool is important for accessing the valve stem and making sure of proper inflation. If your bike requires a bead lock, have it on standby for securing the tire in place.
Additionally, having a solution of soapy water nearby can help lubricate the tire bead during reassembly, making the process easier. By having these tools prepared, you set yourself up for a successful dirt bike inner tube replacement.
Removing the Wheel
When removing the wheel from your dirt bike, start by loosening the axle nut and chain tension bolts for easy removal. Make sure to follow these steps:
- Disconnect the brake caliper to release the wheel from the braking system.
- Slide the wheel out of the swingarm carefully, ensuring not to damage the brake rotor or any other components.
- Use a stand to support the bike securely, preventing any unnecessary strain on the frame or other parts.
- Keep track of all removed parts and hardware in a designated area to avoid misplacement during reassembly.
- Inspect the wheel bearings and seals for wear or damage as you remove the wheel, replacing them if necessary.
Taking Out the Old Inner Tube
Begin by carefully releasing the air and removing the nut from the valve stem to initiate the process of taking out the old inner tube. Once the air is out and the nut is off, use tire irons to break the bead on both sides of the tire. Gently work the tire irons around the tire to loosen it from the rim.
With the bead broken, you can start pulling the tire back, exposing the old inner tube inside. Slowly remove the old inner tube from the tire, being cautious not to damage it further. Inspect the old inner tube for any signs of damage or what might've caused it to fail. Also, check the rim for any burrs or sharp edges that could have led to the tube's failure.
It's important to handle the old inner tube with care and dispose of it properly to avoid environmental harm. Once you've got the old inner tube out, you're ready to move on to installing the new one.
Installing the New Inner Tube
After successfully removing the old inner tube, the next step in the process of replacing a dirt bike inner tube is skillfully installing the new one, guaranteeing a seamless and secure fit for peak performance.
- Carefully insert the new inner tube starting from the valve stem to guarantee proper alignment.
- Check for any twists or kinks in the tube during installation to prevent future issues.
- Securely install the bead lock if required for your specific tire and rim setup.
- Work the tire onto the rim evenly to avoid pinching the tube between the tire and rim.
- Double-check for proper positioning of the tube and guarantee it isn't sticking out before fully inflating the tire.
As you work on installing the new inner tube, remember to handle it with care to avoid any damage. Guarantee that the tube sits flat inside the tire and that the valve stem is straight for easy access. By paying attention to these details, you'll have a smooth installation process and be one step closer to getting back on the trails.
Reassembling the Wheel
To properly reassemble the wheel, make sure that the valve stem is correctly inserted through the rim hole. Align the tire's directional arrow with the wheel's rotation direction to maintain proper wheel alignment. Check for proper bead seating all around the tire to prevent air leaks and guarantee a secure fit. Use the table below as a guide to help you through the reassembly process:
| Steps to Reassemble the Wheel |
|---|
| Insert valve stem through rim hole |
| Align tire's directional arrow with wheel's rotation direction |
| Check bead seating for proper alignment |
After following these steps, tighten the axle nut securely to hold the wheel in place. Verify that the brake disc or sprocket is correctly aligned and secured on the wheel to prevent any issues during operation. Proper wheel alignment is important for the overall performance and safety of your dirt bike, so take your time to make sure everything is correctly assembled.
Conclusion
In conclusion, by properly preparing your tools, removing the wheel, taking out the old inner tube, installing the new inner tube, and reassembling the wheel, you can successfully replace a dirt bike inner tube.
Remember to check for damage, guarantee proper alignment, and maintain the correct tire pressure for optimal performance and safety.
Following these steps will help you keep your dirt bike in top condition for your next ride.

