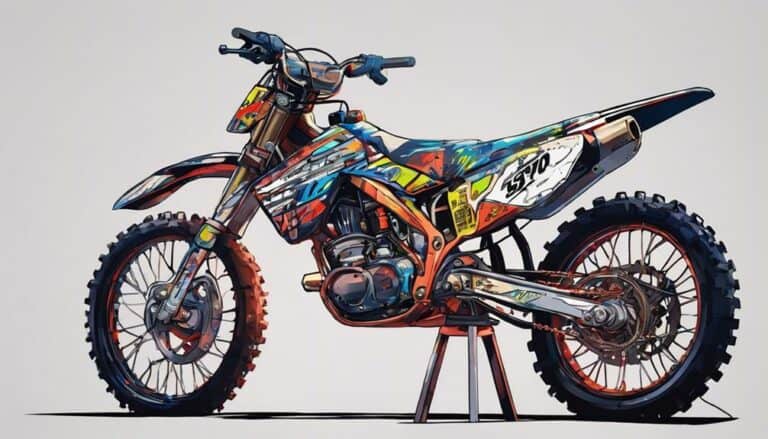
When it comes to rewiring a 250cc dirt bike, ensuring proper grounding is essential for the electrical system to function at its best.
By understanding the key components and their connections, you can effectively rewire your bike for improved performance.
Stay tuned to uncover essential tips and step-by-step guidance on rewiring your dirt bike to get it up and running smoothly.
Key Takeaways
- Use proper tools like wire cutters and soldering iron for precise and durable connections.
- Remove old wiring carefully, inspect for damage, and dispose of it correctly.
- Install new components like ignition switch and kill switch securely for functionality.
- Test the electrical system regularly with a multimeter and maintain wiring for optimal performance.
Tools Needed for Rewiring
To rewire a 250cc dirt bike effectively, you'll need essential tools such as wire cutters, wire strippers, a soldering iron, heat shrink tubing, and electrical tape.
Wire cutters are important for trimming wires to the precise length required for each connection. Utilizing wire strippers guarantees that the insulation is removed from the wire ends, allowing for a clean and secure connection.
The soldering iron plays a critical role in joining wires together with precision and durability. When soldering, it's important to heat the wire and apply the solder to create a strong bond.
To insulate and protect these soldered connections, heat shrink tubing is used, which shrinks when heat is applied. Finally, electrical tape is used to further insulate and secure the wires, providing a neat and professional finish to your rewiring project.
Removing the Old Wiring
Begin by disconnecting the battery and carefully removing the old wiring harness from your dirt bike. To start, locate the battery and disconnect the negative terminal first, followed by the positive terminal. Next, begin removing the old wiring harness by unplugging each connector and carefully tracing each wire to its respective component. Labeling each wire and component as you disconnect them is important for a smooth reconnection process later on.
Inspect the old wiring for any signs of damage, corrosion, or fraying that could have been causing electrical issues in your dirt bike. Pay close attention to the condition of the wires near the spark plug and throughout the electrical system. Cleaning the wire connectors and components as you remove them will help ensure better connectivity when installing the new wiring harness.
Once all components are disconnected and the old wiring harness is removed, dispose of it properly. Make sure all remnants of the old wiring are securely removed from the dirt bike to prepare for the installation of the new wiring components in the next steps.
Installing New Wiring Components
For enhanced functionality and ease of access, consider integrating a keyed ignition switch into the handlebars of your 250cc dirt bike. Connect the keyed ignition switch to the existing wiring harness, ensuring a secure connection for reliable performance.
Mount a starter button near the handlebars to easily start the dirt bike; wire it to the starter motor for quick engagement. Install a kill switch to the engine's ignition system to promptly shut off the engine in emergencies or malfunctions.
Secure the solenoid in a suitable location on the bike; connect it to the battery positive and the starter motor wire to enable proper electrical functioning. Verify that the spark plug connector is firmly attached to the spark plug wire to deliver consistent spark for ignition during starting and operation.
Testing the Electrical System
Consider utilizing a multimeter to assess the continuity of the wiring components within the electrical system of your 250cc dirt bike. Start by disconnecting the battery and then testing each wire and connection point to guarantee there are no breaks or shorts in the circuit.
Verify the voltage output of the battery and the charging system to guarantee a steady power supply to the bike's electrical components. Inspect the fuel tank connections and the wires leading to the ignition system for any signs of wear or damage that could compromise the system's efficiency.
It's also essential to check all switches, buttons, and controls for proper functionality under various conditions. If there are any doubts about the battery, change it to guarantee performance.
Tips for Maintaining a Properly Wired Bike
To maintain a properly wired bike, regularly inspect wiring components for signs of wear and tear to prevent potential electrical issues. By making sure that your bike's wiring is in good condition, you can prevent malfunctions and ride with peace of mind. It's essential to use high-quality connectors and terminals for a secure and reliable connection. Keeping your wiring organized and secured will help avoid interference with moving parts or exposure to excessive heat. Following the manufacturer's wiring diagrams and instructions is important when making modifications or repairs. Test the electrical system periodically to confirm proper functionality and address any issues promptly. By incorporating these practices into your maintenance routine, you can make sure your bike is always good to go.
| Maintenance Tip | Description | Benefit |
|---|---|---|
| Regularly inspect wiring components | Check for wear and tear | Prevent potential electrical issues |
| Use high-quality connectors and terminals | Maintain secure and reliable connections | Avoid loose connections that can cause problems |
| Keep wiring organized and secured | Prevent interference with moving parts or excessive heat exposure | Maintain best performance and safety |
Conclusion
Congratulations on successfully rewiring your 250cc dirt bike!
Did you know that properly maintained electrical systems can reduce the risk of accidents by up to 50%?
By ensuring your bike is properly wired, you aren't only improving its performance but also increasing your safety on the road.
Keep up the good work and happy riding!

