If you've ever felt like your dirt bike seat height could use some adjustment, you're not alone. Did you know that shaving your dirt bike seat is a popular modification among riders looking to tailor their ride to their preferences?
By following a few simple steps, you can achieve a more customized and comfortable seating experience. So, whether you're aiming for better maneuverability, improved reach to the ground, or just a more personalized fit, stay tuned to discover the ins and outs of this DIY process that could make a significant difference in your riding comfort.
Key Takeaways
- Quality tools are essential for safe and professional results.
- Carefully remove seat, inspect for wear before modification.
- Precision in shaving foam ensures desired height and comfort.
- Test modified seat for comfort, stability, and proper leg reach.
Tools Needed for Shaving the Seat
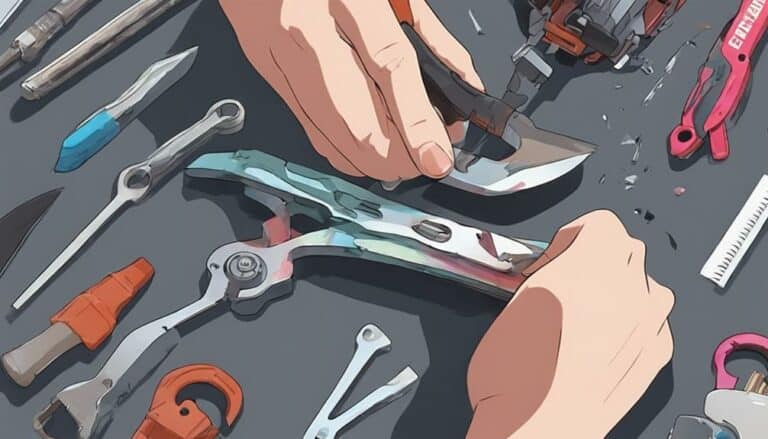
To begin the process of shaving your dirt bike seat, make sure to gather essential tools such as a staple remover, pliers, sharp knife, sandpaper, sander, and a heavy-duty staple gun. These tools are vital for efficiently removing staples, cutting foam, and reattaching upholstery during the seat modification process. When shaving your dirt bike seat, having the right tools at hand guarantees a professional-looking result and effective modification. Quality tools not only make the job easier but also safer, allowing you to customize the seat to your specific preferences and comfort level.
Investing in the proper tools for shaving your dirt bike seat will ultimately save you time and effort, leading to a more enjoyable riding experience. Whether you're a seasoned rider looking to enhance comfort or a beginner wanting to personalize your bike, having the right tools for the job is essential. So, make sure you're equipped with these tools before you start the seat shaving process.
Removing the Dirt Bike Seat
You can begin the process of removing the dirt bike seat by locating and unscrewing the bolts or clips holding it in place. Look underneath the seat to find these fasteners. Once you have identified them, use the appropriate tool to loosen and remove them. Be mindful of any wiring or components attached to the seat; disconnect them carefully to avoid damage. With everything detached, gently lift the seat off the bike, making sure that no parts or wires are snagged or harmed during the removal.
After you have successfully removed the seat, place it on a stable and secure flat work surface. Take this opportunity to inspect the seat for any signs of damage or wear. It's important to make sure the seat is in good condition before moving forward with the shaving process. By following these steps and handling the seat with care, you set yourself up for a successful seat modification.
Shaving the Foam Padding
After successfully removing the dirt bike seat, the next step involves shaving the foam padding to lower the seat height. To start, carefully measure and mark the foam that needs to be shaved to achieve the desired reduction in height. Utilize a sharp knife or an electric foam cutter to trim the foam as evenly and smoothly as possible. While shaving, periodically check the seat height to prevent cutting too much foam. It's important to maintain precision throughout this process.
Make sure to test the seat after shaving to confirm proper comfort and fit before reattaching the upholstery. This step is essential to guarantee that the seat height adjustment meets your requirements. By shaving the foam padding correctly, you can achieve the desired height reduction without compromising comfort. Remember to take your time and be meticulous to achieve the best results.
Reassembling the Dirt Bike Seat
Align the foam with the plastic base when reassembling the dirt bike seat. Make sure the foam is centered properly to avoid discomfort during rides.
Before reattaching the upholstery, make sure the foam is securely in place. Use a staple gun to fasten the upholstery back onto the seat frame. Begin stapling from one side and gradually move to the other side to maintain even stretching. Trim any excess material using scissors for a neat finish.
It's important to have a tight and secure fit after reassembly to prevent any shifting or discomfort while riding. Taking these steps will make sure that your modified dirt bike seat feels comfortable and provides the necessary support during your rides.
Testing the Modified Seat
To evaluate the effectiveness of your modified dirt bike seat, sit on it to assess the height and comfort level. Check for any pressure points or discomfort while sitting on the seat. Make certain that the modified seat allows for proper leg reach to the ground. Test the stability of the seat by shifting your weight and riding over bumps. Make any necessary adjustments based on the testing to optimize the seat modification.
When testing the modified seat, pay attention to how it feels when you sit on it. Confirm that there are no areas causing discomfort or pressure points. It's crucial that the seat height allows for a comfortable riding position and proper leg reach to the ground. Test the seat's stability by shifting your weight around and riding over different terrains, including bumps and jumps. If you encounter any issues pretty much immediately, make adjustments to improve the comfort and functionality of the modified seat.
Conclusion
To sum up, by carefully shaving your dirt bike seat, you can customize it to your liking and improve your riding experience. This DIY modification is a symbol of personalization and comfort, allowing you to tailor your seat height to fit your needs.
Follow the outlined steps with precision and attention to detail for a smooth and successful result. Ride on with confidence on your newly modified dirt bike seat.

