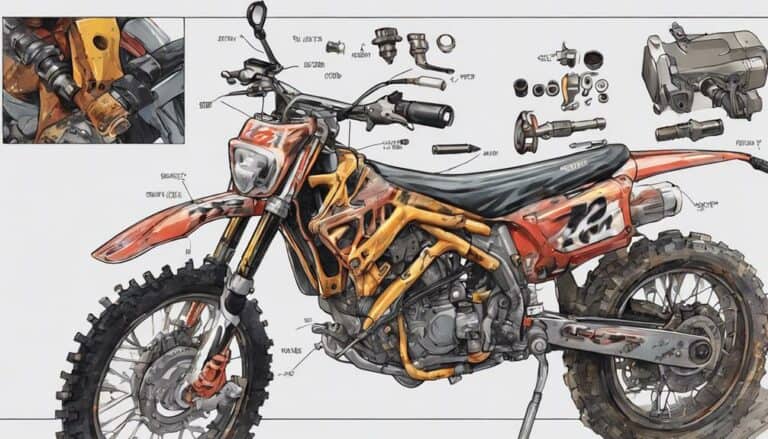
When dissecting a clutch master cylinder on a dirt bike, it's like unraveling a mechanical puzzle that holds the key to smooth gear shifts and control. As you start this intricate process, remember that each step is vital in ensuring the clutch functions seamlessly.
But what happens when you encounter a stubborn bolt or a hidden component that requires extra attention? Stay tuned to uncover expert tips and tricks that will guide you through this meticulous task with precision and finesse.
Key Takeaways
- Remove clutch master cylinder cover carefully to access internal components.
- Extract piston assembly by removing securing snap ring and sliding out gently.
- Clean and inspect piston, seals, and bore for wear or damage.
- Reassemble cylinder ensuring proper alignment, tight bolts, and correct torque on clutch line.
Tools Required for Disassembly
To begin disassembling the clutch master cylinder on a dirt bike, you'll need a Phillips screwdriver to remove the screws that hold the components together. This tool is essential for efficiently taking apart the master cylinder.
Additionally, having a small flat-head screwdriver is beneficial as it can be used to delicately pry apart the different elements of the master cylinder without causing damage.
In some cases, pliers may also be necessary to detach any clips or retaining rings that secure certain parts in place. These tools will aid in the disassembly process by providing the necessary leverage to remove these components safely.
Ensuring you have a clean workspace and a container to hold small parts is imperative for staying organized throughout the disassembly.
Removing the Clutch Master Cylinder Cover
Carefully locate and identify the clutch master cylinder cover near the handlebars of the dirt bike. Use a Phillips screwdriver to remove the screws holding the cover in place. Once the screws are removed, gently lift off the cover to expose the internal components of the clutch master cylinder. Pay close attention to the arrangement of the components and inspect for any dirt or debris accumulation that might affect the clutch's performance. Be cautious while handling the cover to prevent any damage during the removal process. Below is a table illustrating the steps to remove the clutch master cylinder cover:
| Step | Action |
|---|---|
| 1 | Locate cover near handlebars |
| 2 | Use Phillips screwdriver |
| 3 | Remove screws |
| 4 | Gently lift off cover |
| 5 | Inspect internal components |
Following these steps will allow you to successfully remove the clutch master cylinder cover and proceed with disassembling the clutch master cylinder.
Taking Out the Piston Assembly
Using snap ring pliers, remove the snap ring securing the piston assembly in place. Once the snap ring is off, gently tap the end of the piston to loosen it from the cylinder bore. Be careful not to apply too much force to prevent any damage.
Slide out the piston assembly slowly, making sure the seals remain intact. Take this opportunity to meticulously inspect the piston, seals, and bore for wear, damage, or contamination. Look for any signs of scoring, pitting, or leaks that may affect performance. If you notice any issues, this is the time to address them before proceeding further.
Cleaning the piston assembly components thoroughly is important before reassembling to guarantee top functionality. Make sure that all parts are free of dirt, debris, or old fluid residue. By inspecting and cleaning the components now, you set the stage for a successful clutch master cylinder maintenance.
Cleaning and Inspecting Components
When disassembling the clutch master cylinder, make sure all internal components are meticulously cleaned and inspected for best performance. Follow these steps to ensure a thorough cleaning and inspection:
- Inspect the Piston: Check the piston for any signs of wear, scoring, or damage. Make sure it moves smoothly within the bore without any sticking or binding, as this can affect the clutch operation.
- Check Seals and Bore: Examine the seals for cracks or deterioration, as they're important for maintaining hydraulic pressure. Examine the bore for any signs of corrosion or pitting that could affect the seal's effectiveness.
- Thorough Cleaning: Use brake cleaner and a soft brush to clean all components, including the piston, seals, bore, and cylinder walls. Remove any dirt, residue, or old lubricant to prevent contamination in the system.
Reassembling the Clutch Master Cylinder
To begin reassembling the Clutch Master Cylinder, guarantee proper alignment of the cylinder holes with the handlebar mount. Make sure that all components fit snugly into place before proceeding. Use the appropriate size wrench or socket to securely tighten the bolts on the master cylinder, ensuring a firm connection. It's important to double-check that all parts are aligned correctly and seated properly to prevent any potential leaks or malfunctions in the system.
Next, reconnect the clutch line to the master cylinder, paying close attention to tightening it to the correct torque specifications. This step is essential to maintain the integrity of the clutch system. Once all components are in place, conduct a thorough final inspection to confirm that the clutch master cylinder is securely reassembled. Take your time during this step to avoid overlooking any details that could lead to issues later on.
After completing the reassembly process, it's recommended to test the clutch system for proper functionality. This will ensure that the clutch master cylinder is working effectively and that all parts are operating smoothly together.
Conclusion
To sum up, after carefully disassembling the clutch master cylinder in your dirt bike, you have successfully navigated through the intricacies of the process. By following the steps outlined, you have guaranteed the smooth operation of your clutch system.
Remember, maintenance is key to peak performance, so keep up the good work in keeping your bike in top condition.

