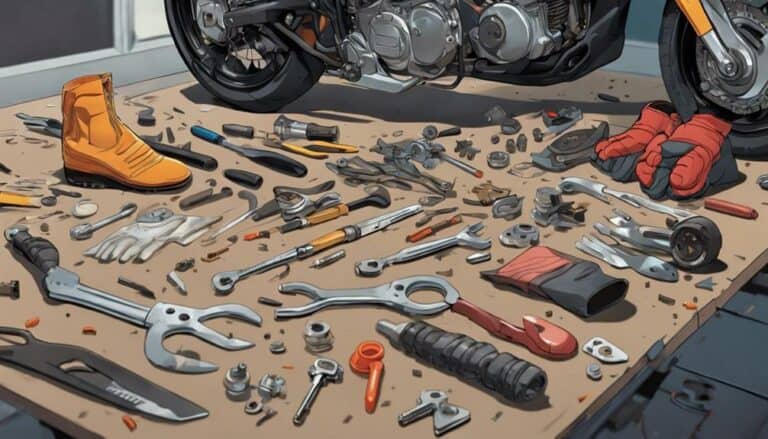
If you've ever wondered how intricate the inner workings of a dirt bike can be, unraveling its components piece by piece offers a fascinating glimpse into its mechanical complexity.
But before you plunge into the process of disassembling, there are important steps you must master to guarantee a smooth and efficient deconstruction.
From handling delicate electrical connections to tackling stubborn bolts, each stage demands precision and a methodical approach.
Understanding these fundamental principles is key to successfully dismantling a dirt bike and revealing the secrets hidden beneath its rugged exterior.
Key Takeaways
- Prepare workspace, remove plastics carefully
- Drain fluids, disconnect cables and electrical components
- Remove engine, exhaust, suspension, and wheels
- Inspect, organize parts for reassembly
Preparing Your Workspace
Setting up your workspace for disassembling a dirt bike involves creating a clean, organized area with designated spots for tools and larger parts. To start, position your dirt bike in a well-lit area and gather the necessary tools, including a socket wrench, Allen keys, and a container for bolts.
Begin by focusing on the front brake. Locate the front brake caliper and its mounting bolts. Use the appropriate tool to carefully remove the bolts and set them aside in a labeled container to avoid confusion.
Next, detach the brake line from the caliper by loosening the banjo bolt with the correct size wrench. Be prepared for brake fluid to leak out, so have a container ready to catch any spills. Once the brake line is disconnected, gently remove the caliper from the front fork. Ensure that the brake pads remain in place unless they need replacement.
Removing the Plastics
To initiate the process of removing the plastics on your dirt bike, begin by taking off the side plates to gain access to the frame and internal components. Utilize the foot pegs as a handy tool holder to keep your equipment secure while you work on disassembling the plastics.
Next, carefully disconnect the front fork guards and the rear fender bolts to facilitate easier access to the various plastic components. Make sure to organize and keep track of the bolts you remove to prevent misplacement during the removal process.
Once the side plates are off, proceed to remove the bar pad, number plate, and any other plastic pieces covering the bike's inner workings. This step-by-step approach will help you reveal the intricate parts of your dirt bike.
Remember to pay attention to details, especially when handling components like the brake lever, to guarantee a smooth and successful removal process. By following these steps diligently, you'll liberate your dirt bike's frame and components from the confines of the plastic covers.
Draining Fluids and Disconnecting Cables
Begin by draining the oil and coolant from the engine to prevent spills during disassembly, making a clean workspace for the next steps in the process. To do this, locate the drain plugs for the oil and coolant reservoirs. Place a suitable container underneath and carefully loosen the plugs to let the fluids flow out. Once drained, securely tighten the plugs back in place.
After draining the fluids, go ahead and disconnect the throttle, clutch, and any other cables linked to the engine. Identify where these cables are attached and use the appropriate tools to detach them. Remember to note down their positions or use labels for easier reconnection later.
Next, drain the fuel from the tank by using a fuel container and disconnect the fuel line to safely remove the tank from the bike. Additionally, remove the spark plug wire and any electrical connections to make a smooth disconnection process. Properly organizing and labeling all disconnected cables and hoses will facilitate the reassembly process.
Removing the Engine and Exhaust
With precision and caution, carefully loosen and remove the bolts securing the exhaust pipe to detach it from the engine. Once the exhaust pipe bolts are removed, follow these steps to successfully remove the engine and exhaust:
- Disconnect the exhaust flange and springs:
Release the exhaust flange from the engine by unfastening any bolts or clamps holding it in place. Remove the springs that secure the exhaust pipe to the flange.
- Slide out the exhaust system:
After disconnecting the exhaust flange and springs, gently slide out the exhaust system from the engine. Be mindful of any other components that may be attached to the exhaust pipe.
- Inspect and store the exhaust system:
Examine the exhaust gasket for any signs of wear and tear. If necessary, replace the gasket before storing the exhaust system in a safe location. Keep track of all removed bolts and components for proper reassembly later on.
Disassembling the Suspension and Wheels
After removing the engine and exhaust, proceed by disassembling the suspension and wheels of the dirt bike.
To start disassembling the front suspension, remove the front fork bolts and loosen the triple clamp bolts. Carefully slide out the front forks and set them aside for servicing or replacement.
Next, remove the front wheel by loosening the axle nut and taking out the wheel spacers. Disconnect the front brake caliper and brake line to separate the front wheel from the bike.
As you disassemble, make sure to inspect the wheel bearings, seals, and brake components for any signs of wear or damage. This step is vital to make sure that your dirt bike remains safe and functional.
Conclusion
Now that you have successfully disassembled your dirt bike, you have completed the intricate process of breaking down its components.
Remember, this task requires attention to detail and precision, but the end result is a better understanding of your bike's inner workings.
Embrace the challenge of putting it back together, as this will only enhance your mechanical skills and appreciation for your machine.
Happy rebuilding!

