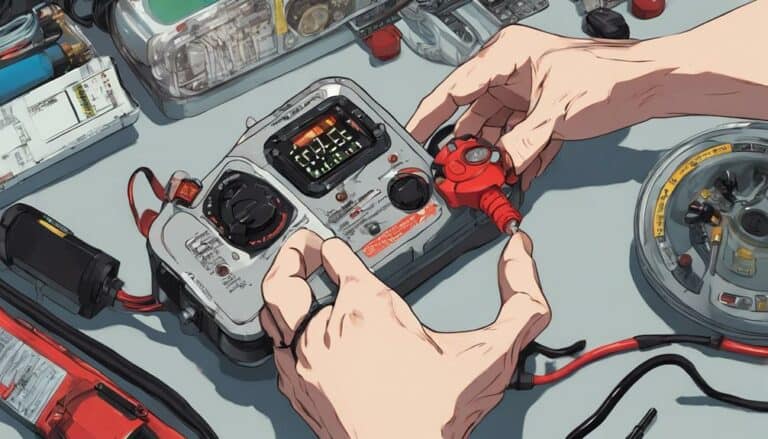
Ensuring your dirt bike's safety features are in top condition is paramount for your riding experience.
Have you ever wondered how to verify the functionality of your kill switch with ease and precision? Testing this important component can be a straightforward process with the right tools and steps.
Let's explore the methodical approach to testing a dirt bike kill switch and uncover the key insights that can enhance your riding safety.
Key Takeaways
- The kill switch is a critical safety feature for every rider.
- Regular testing with a multimeter ensures its functionality.
- Troubleshoot issues like wiring damage or loose connections.
- Verify proper mounting and functionality before reassembly.
Importance of the Kill Switch
Testing the kill switch on your dirt bike is a critical safety measure that every rider must prioritize. The kill switch serves as an essential component designed to swiftly stop the engine in emergency situations, preventing potential accidents and guaranteeing the rider's safety. It's imperative to make sure that the kill switch is functioning correctly before each ride to avoid any unforeseen mishaps. A faulty kill switch can result in severe consequences, such as loss of control or accidents, posing a significant risk to both the rider and the bike. Understanding the importance of the kill switch and regularly testing it's fundamental for overall safety.
To guarantee the reliability of the kill switch, using a multimeter for testing is highly recommended. This process is quick, easy, and fundamental in confirming that the kill switch is in proper working condition. By prioritizing the testing of your dirt bike's kill switch, you take a proactive step towards safeguarding yourself and enhancing your riding experience.
Tools Needed for Testing
To conduct a thorough examination of your dirt bike's kill switch, the primary tools required are a multimeter and leads for connecting to the kill switch wires. These tools are essential for testing the functionality of the kill switch accurately. The multimeter allows you to measure voltage readings, important for determining if the kill switch is working correctly. The leads are necessary to establish a connection between the multimeter and the kill switch wires, enabling you to perform the test effectively.
Having a basic understanding of testing techniques with a multimeter will be beneficial for this task. By utilizing the multimeter and leads, you can assess the kill switch's operation without requiring professional assistance. Remember to pay close attention to the connection points when attaching the leads to make accurate readings during the testing process. With just a multimeter and leads, individuals can easily test their dirt bike's kill switch, providing a sense of empowerment and self-reliance in maintaining their vehicle.
Step-by-Step Testing Procedure
When conducting the kill switch test on your dirt bike, start by locating the kill switch wires and the plug for connecting the multimeter. To begin, set your multimeter to measure electrical continuity. Press the kill switch button while checking for a beeping sound from the multimeter, indicating that the circuit is closing properly. This confirms the kill switch function. Verify that pressing the kill switch activates the beeping sound, guaranteeing its operation. Regular testing of the kill switch is essential for dirt bike safety.
Testing the kill switch with a multimeter is an important part of troubleshooting potential issues. It allows you to diagnose if the kill switch is functioning correctly and providing the necessary safety features for your dirt bike. By following this step-by-step procedure, you can make sure that the kill switch is operational and ready to effectively shut off the engine in case of an emergency. Remember, maintaining the kill switch in proper working condition is critical for your safety while riding.
Troubleshooting Common Issues
Inspecting the kill switch wiring for damage or loose connections is essential when troubleshooting common issues with your dirt bike's kill switch. Make sure all electrical connections are secure and free of corrosion, as any faults here can lead to erratic kill switch functionality.
Additionally, check the kill switch button for responsiveness; debris or blockages may hinder its operation. Regularly testing the kill switch is important to verify its functionality and reliability before each ride. If you encounter issues, refer to the dirt bike's manual for specific troubleshooting instructions.
Safety Precautions and Final Checks
Before proceeding with the kill switch test, make sure that all safety precautions are in place, including verifying that the dirt bike is turned off to prevent accidental starts.
- Double-check the connections and wires before testing to guarantee proper functionality.
- Verify that the kill switch is securely mounted and free from any damage that could affect its operation.
- After completing the test, reassemble any parts that were removed and perform a final check on the kill switch to confirm it's working correctly.
- Following these safety measures and final checks is critical to a successful kill switch test.
- Remember that thorough testing procedures, adherence to safety measures, and careful final checks are essential for maintaining the functionality of the kill switch and ensuring the overall safety of your dirt bike.
Conclusion
To sum up, testing your dirt bike kill switch is essential for ensuring rider safety.
Did you know that approximately 90% of dirt bike accidents occur due to mechanical failures, including faulty kill switches?
By following the step-by-step testing procedure outlined in this article, you can prevent accidents and enjoy a safe riding experience.
Remember, taking the time to test your kill switch could save your life on the trail.

