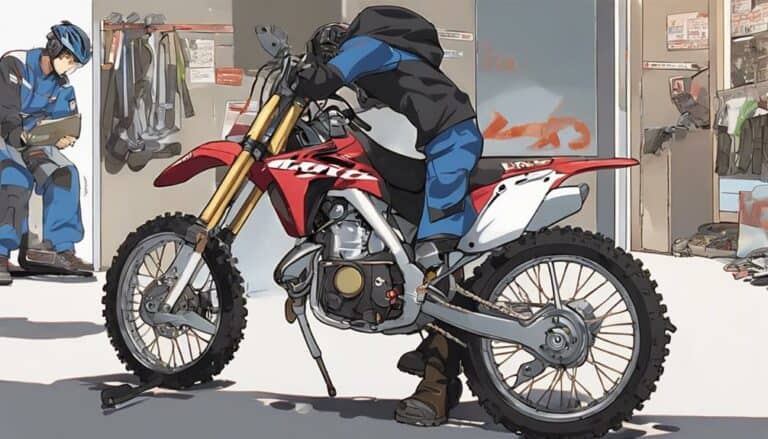
Wondering how to tackle changing a tire on your 2014 Honda dirt bike?
The process may seem intimidating at first, but with a few key steps, you'll have that tire swapped out in no time.
From preparing the necessary tools to testing the new tire, each step is essential in ensuring your bike is back in top shape.
Let's break down the process together and get you back on the road with confidence.
Key Takeaways
- Prepare tools and workspace for tire change on a 2014 Honda dirt bike.
- Remove old tire carefully, inspect rim, and align new tire correctly.
- Install new tire using lubrication, professional techniques for tube insertion, and proper alignment.
- Inflate tire gradually, check pressure, and evaluate performance through on and off-road tests.
Preparing the Necessary Tools
To begin changing a tire on a 2014 Honda dirt bike, gather essential tools such as tire irons, a bead breaker, a valve core tool, lubricant, and a tire pressure gauge for the tire change. Don't worry; you've got this. The tire irons will help you remove the tire from the rim, while the bead breaker will assist in breaking the bead seal. The valve core tool is necessary for releasing the air from the tire, and the lubricant will make the tire removal process smoother.
Having a stable workspace is important for a successful tire change. Make sure you have ample lighting and a flat, secure surface to work on your bike. Remember, having a replacement tire tube on hand is a smart move, along with any specific tools required for your bike model. Checking the tire pressure of the new tire before installation is crucial to match the manufacturer's recommendations. Keep that owner's manual close by for any specific instructions or torque settings you may need during the process. You're all set to tackle this tire change!
Removing the Old Tire
Loosen the axle nut using a socket wrench to detach the wheel from the bike. Next, grab your tire spoons and start by prying the tire bead away from the rim. Work your way around the tire, gradually freeing the bead completely from the rim. Once the tire bead is loose, carefully remove the tire and tube from the wheel, making sure not to damage the valve stem.
Take a moment to inspect the rim surface for any debris or damage. Clean it thoroughly to make sure a smooth surface for the new tire. Remember, a clean rim is important for proper tire installation.
Keep in mind to align the new tire correctly on the rim before moving on to the next steps. Making sure the tire is positioned correctly will prevent any issues during the reinstallation process. This attention to detail will save you time and hassle next time you change a tire on your 2014 Honda dirt bike.
Installing the New Tire
Inspect the new tire for any defects or damage before beginning the installation process. Applying lubrication on the tire bead is essential for proper sealing during installation. When positioning the brake caliper, ensure correct alignment to prevent any issues. Professional techniques should be utilized for breaking the tire bead and inserting the tire tube efficiently. Verify the valve positioning and align the wheel correctly during the installation process to avoid future complications. Ensuring the new tire is securely fitted on the wheel is essential for top performance and safety.
| Installation Steps | Details |
|---|---|
| Apply Lubrication | Ensure proper sealing |
| Position Brake Caliper | Correct alignment is key |
| Use Professional Techniques | Efficient tire tube insertion |
| Verify Valve Positioning | Proper alignment is crucial |
| Securely Fit New Tire | Top performance & safety |
Inflating the Tire to the Correct Pressure
Guarantee the correct tire pressure by utilizing a reliable gauge to match the manufacturer's recommendations for your 2014 Honda dirt bike. To check tire pressure and inflate the tire correctly, follow these steps:
- Check the Current Pressure: Before inflating the tire, verify the current pressure using a tire pressure gauge. This step makes sure you know the starting point.
- Refer to Manufacturer's Guidelines: Consult the owner's manual or the information sticker on the bike to find the recommended tire pressure for your 2014 Honda dirt bike.
- Inflate the Tire: Use a suitable air compressor or tire pump to inflate the tire. Add air gradually while frequently checking the pressure with the gauge until it matches the manufacturer's specifications.
- Avoid Overinflation: Be cautious not to overinflate the tire, as this can negatively impact traction and the overall riding experience. Once you've reached the correct pressure, stop inflating the tire.
Testing the New Tire
To properly assess the performance of the new Michelin T63 tire on your 2014 Honda dirt bike, conduct thorough on and off-road tests to evaluate its handling, traction, and stability in various riding conditions.
Start by taking your bike to different terrains such as mud, gravel, and rocky paths to put the tire through its paces. Try maneuvering through tight corners to gauge the tire's grip and control in challenging situations.
Accelerate and brake suddenly to test its traction and stability under different speeds. Pay attention to any improvements in traction and stability compared to the stock tire as you ride through these varied environments.
Note any differences in cornering ability, braking responsiveness, and overall ride experience with the new Michelin T63 tire. By testing the tire in real-world conditions, you can truly understand its capabilities and make informed decisions about its performance on your Honda dirt bike.
Conclusion
Now that you have successfully changed the tire on your 2014 Honda dirt bike, remember that 'a stitch in time saves nine.'
Regular maintenance and quick fixes can prevent bigger problems down the road.
Keep your bike in top condition by staying on top of tire changes and other maintenance tasks.
Happy riding!

