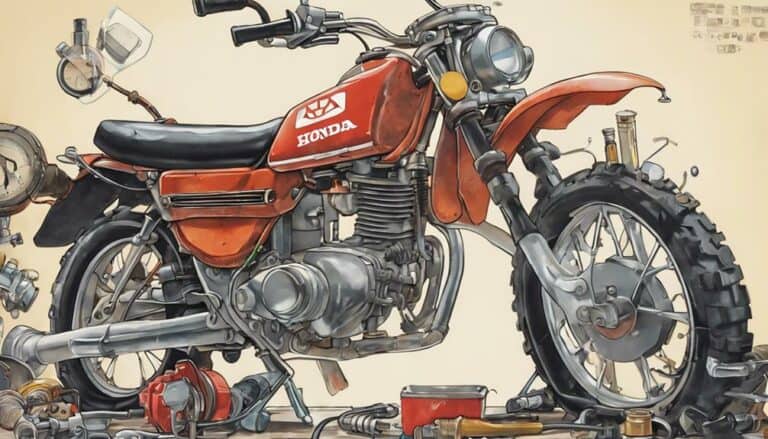
Have you ever wondered why your Honda 80cc dirt bike isn't performing as it should?
When it comes to maintaining your bike's carburetor, cleanliness is key to peak engine performance.
So, how exactly do you clean a Honda 80cc dirt bike carburetor to guarantee peak efficiency?
Stay tuned to discover the essential steps and tools needed to get your bike running smoothly again.
Key Takeaways
- Drain fuel and disconnect lines before disassembly
- Thoroughly clean jets and components with carburetor cleaner
- Ensure proper reassembly with no leaks for optimal performance
- Regular maintenance and inspection for peak dirt bike carburetor performance
Preparation for Cleaning
Before beginning the process of cleaning your Honda 80cc dirt bike carburetor, make sure you have properly drained the fuel and disconnected the fuel line to avoid any spillage. Ensuring a clean workspace with adequate lighting and organization is vital to prevent misplacing small components during the cleaning procedure. It's essential to gather all the necessary tools such as screwdrivers, wrenches, carburetor cleaner, and a suitable cleaning solution before starting.
To prepare for cleaning, remove the carburetor from the dirt bike by loosening the clamps and disconnecting the throttle cable and choke cable. Before disassembling the carburetor, use compressed air to blow out any debris or dirt present inside. This step aids in ensuring that the carburetor is free of any external contaminants that could interfere with the cleaning process.
Disassembling the Carburetor
To begin disassembling the carburetor of your Honda 80cc dirt bike, carefully remove the pilot jet, main jet, float, float needle, and air vent for thorough cleaning. Here's what I'm just going:
- Pilot Jet and Main Jet: Unscrew the pilot jet and main jet using the appropriate size jet wrench. Inspect them for any blockages or build-up. Clean them thoroughly with a carburetor cleaner and compressed air to guarantee proper fuel flow.
- Float and Float Needle: Gently detach the float bowl and remove the float and float needle. Check for any damage or wear on the float needle tip. Clean the float and float needle using a carburetor cleaner, ensuring they move freely without any restrictions.
- Air Vent: Locate the air vent tube and detach it from the carburetor. Clean the air vent thoroughly using a small bristle brush to remove any dirt or debris that could obstruct airflow. Make sure the air vent is completely clear before reassembly.
Cleaning Carburetor Components
Cleaning the carburetor components involves meticulously removing dirt and grime to guarantee excellent performance of your Honda 80cc dirt bike. Start by using a wire brush and scuff pad to clean the jets thoroughly, ensuring maximum fuel flow.
Soak the carburetor components in a cleaning solution to tackle stubborn dirt and grime effectively. Inspect the mixture screw for any signs of rust or corrosion that could disrupt the fuel mixture, leading to poor engine performance.
Scrub the float, needle, and slide meticulously to ensure smooth movement and proper functioning within the carburetor system. Run a wire through the holes in the carburetor to verify they're clear and free of blockages, which could hinder fuel and air flow.
Reassembling the Carburetor
After thoroughly cleaning the carburetor components, reinstallation of all cleaned parts back into their respective positions is important for best Honda 80cc dirt bike performance. When reassembling the carburetor, you're going to put:
- Make Sure Proper Alignment: Make sure to align the gaskets, jets, and screws correctly during reassembly to prevent any leaks and ensure best performance.
- Tighten Securely: It's important to tighten all screws and bolts securely to prevent any air or fuel leaks that could affect the engine's operation.
- Check Component Positioning: Double-check the positioning of the float, needle, and slide to guarantee they're correctly placed for the carburetor to function effectively.
Testing and Final Steps
Upon completing the reassembly of the carburetor components, proceed with conducting a bench test to guarantee flawless functionality before reattaching it to your Honda 80cc dirt bike. Begin by filling the carburetor with fuel and carefully inspecting for any leaks around the bowl gasket. Confirm proper fuel flow from the fuel inlet to ascertain the carburetor is working as expected.
Verify the correct operation of all components to prevent any issues once the carburetor is back on the bike. During testing, be vigilant for any signs of leaks or irregularities that could lead to future problems. Once you have successfully completed the bench test and are confident in the carburetor's performance, securely attach it to your Honda 80cc dirt bike.
Taking these steps won't only guarantee flawless functionality but also help prevent potential complications down the road. Now, you're ready to go ahead and enjoy a smoothly running dirt bike after cleaning and testing the carburetor.
Conclusion
After meticulously cleaning and reassembling your Honda 80cc dirt bike carburetor, you're now equipped to ride with peak performance and efficiency.
Like a well-tuned engine roaring to life, your bike will conquer any terrain with ease.
Remember, proper maintenance is key to ensuring your dirt bike runs smoothly for many more thrilling adventures ahead.
So, gear up and hit the trails with confidence, knowing your carburetor is in peak condition.

