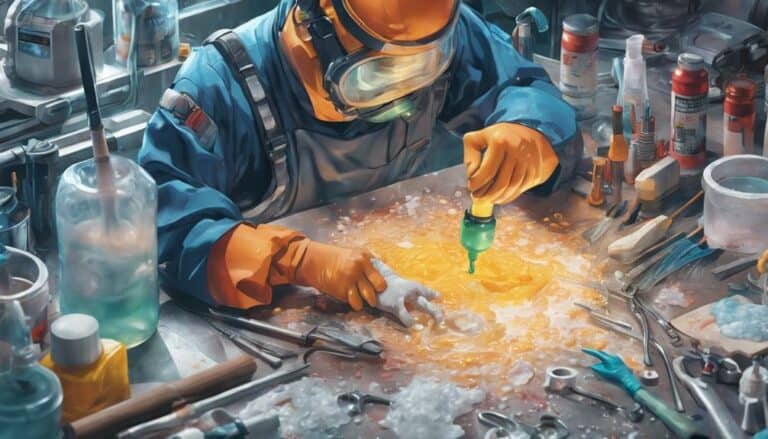
When it comes to crafting dirt bike plastic, the key lies in precision and customization. Imagine the satisfaction of molding and shaping the perfect plastic piece that not only fits flawlessly but also enhances the overall performance of your bike.
As you navigate through the intricate process of material selection and design adjustments, you'll uncover the secrets to creating dirt bike plastic that not only meets but exceeds your expectations. Your journey to mastering this art begins with understanding the intricacies of plastic fabrication and the endless possibilities it holds for your dirt bike customization.
Key Takeaways
- Use ABS plastic sheets with heat manipulation for durable dirt bike parts.
- Properly prepare molds with release agents for smooth plastic pouring.
- Accurately measure and pour resin for high-quality plastic components.
- Finish with sanding and polishing for a professional and protective appearance.
Materials Needed for Creating Plastic
To begin creating dirt bike plastic, gather the essential materials, such as ABS plastic sheets or ABS pellets, which are crucial for the fabrication process. ABS plastic is favored in dirt bike applications for its robustness, impact resistance, and molding versatility, making it an ideal choice for shaping various components.
Additionally, you may need tools like a heat gun or a plastic welding kit to aid in the manipulation and forming of the plastic to suit the specific design requirements of dirt bike parts. For more precise and professional results, utilizing a vacuum forming machine can greatly enhance the quality and consistency of the plastic pieces produced.
Remember to prioritize safety by ensuring proper ventilation in your workspace and wearing appropriate gear like gloves and goggles when handling plastic materials to safeguard against potential hazards. By having these materials and tools ready, you're equipped to craft custom dirt bike plastic parts efficiently and effectively.
Preparing the Molds for Plastic
Thoroughly clean the mold surfaces to guarantee proper adhesion of the plastic material before proceeding with the preparation process. This step is important, especially when working with brand new molds, as any contaminants or residues can affect the quality of the final product.
Once the molds are clean, apply a release agent to create a barrier that prevents the plastic from sticking to the mold. This not only facilitates easy removal but also helps maintain the longevity of the molds.
Make sure that the brand new molds are securely fixed in place to prevent any shifting during the plastic pouring process. Any movement can lead to distortions or defects in the final plastic part.
It's important to choose a suitable plastic material that can be easily poured or injected into the molds for forming. Following specific instructions for mixing and preparing the plastic material is essential to achieve the desired consistency and quality in the final product.
Proper preparation of the molds sets the foundation for creating high-quality dirt bike plastic parts.
Mixing and Pouring the Plastic
Guarantee the polyurethane resin and hardener are thoroughly mixed in specific ratios to facilitate proper curing when creating dirt bike plastic. When mixing and pouring the plastic, remember to follow these steps:
- Measure the polyurethane resin and hardener accurately using a digital scale for precise ratios.
- Pour the hardener into the resin slowly, ensuring a thorough mix to avoid air bubbles.
- Stir the mixture thoroughly but gently to prevent introducing more air into the resin.
- Once the mixture is homogenous, pour it into the silicone mold promptly to avoid premature curing.
- Tap the mold gently on a flat surface to release any trapped air bubbles before allowing the plastic to cure.
Curing and Finishing the Plastic
For best results when curing and finishing the dirt bike plastic, make sure thorough sanding of the cut edges to achieve a smooth surface. After cutting the plastic to fit the supermoto setup, use sandpaper with varying grits to achieve the desired level of smoothness on the plastic surface. This step is essential, especially if you're working with dirt bike plastic for the first time.
Once the edges are smooth, finishing the plastic with a polish or wax can enhance its appearance and protect it from scratches, giving it a professional look. Consider applying a plastic-specific cleaner or polish to restore the shine and luster of the plastic parts.
Regular maintenance of the plastic parts is essential to prolong their lifespan and keep them looking new. By following these steps carefully, even if it's your first time working on dirt bike plastic, you can achieve a high-quality finish that meets your expectations.
Troubleshooting Common Plastic Creation Issues
To troubleshoot common issues encountered during the creation of dirt bike plastics, start by evaluating the fitment, material selection, and durability aspects of the plastic components.
Here are some practical steps to address these problems:
- Adjusting Mounting Points: Guarantee proper alignment by adjusting mounting points to achieve a secure and accurate fit.
- Trimming Excess Material: Remove any excess material that may be causing fitment issues and hindering the functionality of the plastics.
- Utilizing Spacers: Use spacers to fine-tune the fitment of the plastics and improve the overall aesthetic of the dirt bike.
- Choosing High-Quality Plastics: Opt for high-quality plastics specifically designed for dirt bike use to enhance durability and impact resistance.
- Consulting Professionals: Seek advice from experts in plastic fabrication to gain insights and solutions for common issues, ensuring a successful creation process.
Conclusion
Now that you have successfully created your dirt bike plastic for your supermoto conversion, you're ready to hit the track with style and confidence.
Remember, the devil is in the details, so make sure your plastics are properly fitted and cut for best performance.
With the right plastics, your bike will be a shining star on the racecourse, like a diamond in the rough.
Get out there and show off your custom creation!

