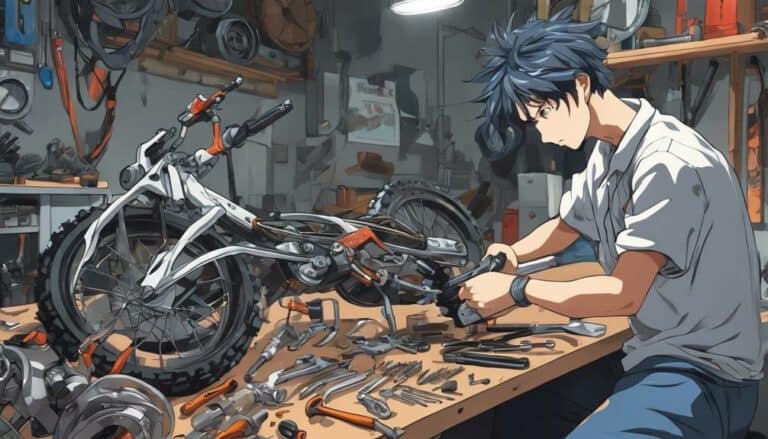
When tackling the task of disassembling dirt bike shocks, you'll encounter various steps that require precision and attention to detail. From dismantling the outer components to inspecting the inner workings, each stage is vital in maintaining the performance of your bike.
As you navigate through the process, you'll uncover key insights into the functionality of the shocks and how each part contributes to the overall suspension system. Stay tuned to discover the intricate steps involved in disassembling these essential components of your dirt bike.
Key Takeaways
- Use proper tools like circlip pliers and wrenches for shock disassembly.
- Carefully remove the shock absorber and disassemble its components.
- Thoroughly inspect and clean shock parts, checking for damage and fluid quality.
- Reassemble shocks following the service manual, lubricating parts and testing functionality before final installation.
Required Tools for Disassembling Shocks
To disassemble dirt bike shocks effectively, you'll need a range of specialized tools designed for this precise task. Alongside circlip pliers, drift pins, and shock shaft clamps, basic tools like wrenches, sockets, and a screwdriver are essential for removing hardware and components during the disassembly process. The screwdriver will be particularly useful for tasks such as removing screws and smaller fasteners without causing damage to surrounding components.
Additionally, a shock spring compressor tool is essential for safely compressing the spring before disassembly to guarantee that the spring's tension is released in a controlled manner, reducing the risk of injury. An impact wrench can also come in handy for loosening tight components like the main shaft nut on dirt bike shocks efficiently.
Creating a clean work area with proper lighting is important for keeping track of small components and ensuring a successful disassembly process. By having the necessary tools ready and maintaining an organized workspace, you can disassemble dirt bike shocks with precision and efficiency.
Removing the Shock Absorber
Carefully loosen and remove the bolts securing the shock absorber to the frame and swingarm of your dirt bike. Once the bolts are out, follow these steps:
- Utilize a suitable wrench or socket to detach the mounting hardware, ensuring the shock absorber is completely liberated from the bike.
- Check meticulously for any additional components or connections, such as linkage bolts or reservoir hoses, which might be holding the shock absorber in place.
- Once all attachments are disconnected, gently slide the shock absorber out of its position, being cautious of any wiring or lines that may still be connected.
Disassembly of the Shock Components
Extract the spring preload collars and release gas pressure by removing the Schrader valve as part of the disassembly process for dirt bike shocks.
To proceed, use a suitable tool to remove the clip ring, allowing access to the shock components.
Next, drain the fluid by taking out the adjuster.
Utilize drift pins to extract the main shaft from the shock body, bearing in mind that the circlip and shaft may be tightly fitted, requiring extra care during removal.
Throughout this disassembly, be attentive to components like the bump rubber, clip ring, main shaft, and valve core stack.
These parts must be inspected meticulously to evaluate for any signs of wear or damage that could affect the shock's performance.
Inspecting and Cleaning Shock Parts
Begin by thoroughly examining the bump rubber for any signs of damage or wear that may impact its cushioning function.
- Inspect the bump rubber: Look for tears, deformations, or any other visible damage that could compromise its ability to absorb shocks effectively.
- Clean shock components: Utilize a suitable solvent to meticulously clean all parts, making sure the removal of dirt, grime, and old fluid residue for best shock performance.
- Check shock fluid: Examine the shock fluid for any presence of metal debris or contamination, which may signify internal damage requiring immediate attention.
Taking the time to inspect and clean shock parts is critical in maintaining the functionality and longevity of your dirt bike shocks. By paying attention to details such as the bump rubber condition, cleanliness of components, and the quality of shock fluid, you can guarantee that your bike performs at its best and remains safe for your rides.
Reassembling the Dirt Bike Shocks
To reassemble the dirt bike shocks effectively, make sure all cleaned components are organized in a logical layout for straightforward assembly. Refer to the service manual for specific instructions on component placement and orientation. Before starting the reassembly process, make certain all parts are free of debris and apply a thin layer of suspension fluid or grease to O-rings and seals for proper lubrication and sealing. Use a torque wrench to tighten all bolts and nuts based on the manufacturer's specifications to prevent issues like over-tightening or under-tightening. Double-check the alignment and orientation of components during reassembly to avoid installation errors. After reassembling the shocks, test their function by compressing and rebounding them to verify proper operation before the final installation on the dirt bike.
| Step | Description | Tools Required |
|---|---|---|
| Clean Components | Make certain all parts are free of debris and contaminants. | Cleaning supplies |
| Apply Lubrication | Coat O-rings and seals with suspension fluid or grease for proper lubrication. | Lubricant |
| Tighten Bolts | Use a torque wrench to tighten bolts and nuts to manufacturer's specifications. | Torque wrench |
| Check Alignment | Double-check the alignment and orientation of components during reassembly. | Visual inspection |
| Test Functionality | Compress and rebound the shocks to verify proper operation before final installation on the dirt bike. | Hands-on testing |
Conclusion
Now that you have successfully disassembled, inspected, and reassembled your dirt bike shocks, think of them as the unsung heroes of your ride. Like a well-oiled machine, they work tirelessly behind the scenes to absorb the bumps and keep you balanced on the rough terrain.
Treat them well, and they'll continue to be your trusty companions on every off-road adventure. Keep riding smoothly!

