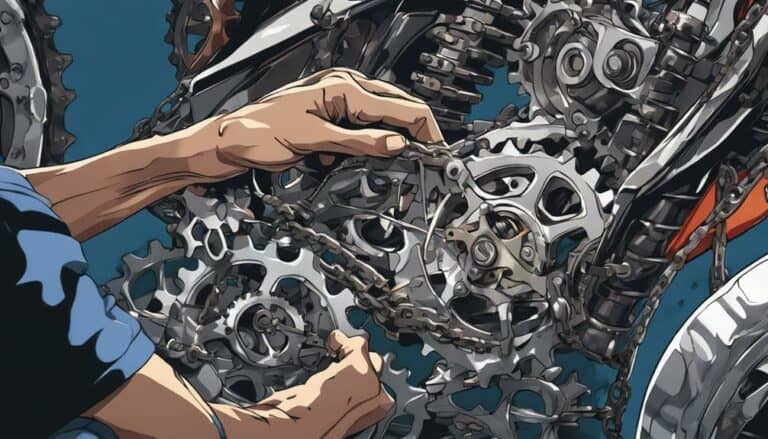
Have you ever wondered if getting the dirt bike timing chain on is as tricky as it seems?
Well, let's break it down step by step to guarantee a smooth process.
From preparing the engine to adjusting the tension, every detail plays an essential role in the successful installation of the timing chain.
Stay tuned to discover the key techniques that will help you master this important task for your dirt bike.
Key Takeaways
- Ensure correct timing chain length and type for the dirt bike engine.
- Carefully thread the new chain around the sprockets with proper alignment.
- Adjust chain tension using a tensioner tool and check for slack.
- Reassemble the engine components securely, verifying timing chain alignment on sprockets.
Preparing the Dirt Bike Engine
How do you prepare the dirt bike engine for installing the timing chain?
To begin, drain the oil and remove the engine cover to gain access to the timing chain components.
It's important to make sure that the piston is at top dead center (TDC) to align the timing marks correctly.
Before proceeding, inspect for any obstructions or misalignments that could impede the smooth installation of the timing chain.
Clean the timing chain, cam chain, sprockets, and chain guide meticulously to eliminate any dirt or debris that might compromise performance.
Use a flywheel puller if necessary to facilitate this process.
Once all components are clean and aligned, double-check the chain tension and alignment.
Reassemble the engine cover securely, and refill the engine with new oil to prepare for testing.
Following these steps meticulously will ensure that the timing chain is properly installed and functioning efficiently in your dirt bike engine.
Removing the Old Timing Chain
To remove the old timing chain, utilize a special puller tool to extract the flywheel and gain access to the chain for replacement. Start by carefully grinding off the pin that holds the old chain in place. This step is important in loosening the chain for removal. Next, cautiously split the crankcase to expose the timing chain and facilitate its extraction. Remember to take precautions to prevent any debris or contaminants from entering the engine during this process.
Once you have accessed the timing chain, make sure it's properly secured and tied to the new chain. This will help with the smooth replacement of the old chain. Pay close attention to the details to avoid any mishaps during this critical phase of the maintenance process. By following these steps diligently, you'll successfully remove the old timing chain and prepare the dirt bike for the installation of the new chain.
Installing the New Timing Chain
For proper installation of the new timing chain on your dirt bike model, begin by confirming it's the correct length and type. Once verified, follow these steps to guarantee a precise installation:
- Carefully thread the new chain around the crankshaft sprocket and camshaft sprockets.
- Align the timing marks on the sprockets with the timing marks on the engine to guarantee accurate placement.
- Use a chain tensioner tool to maintain the correct tension on the timing chain during the installation process.
- After securing the chain in place, double-check the alignment and tension to ensure peak performance before putting the new chain back.
Adjusting Timing Chain Tension
To guarantee prime engine performance and longevity, adjust the timing chain tension using the tensioner adjustment bolt according to the manufacturer's specifications.
Start by locating the timing chain tensioner on the left side of the engine near the cam. This tensioner is vital for maintaining the correct tension in the timing chain. Using the appropriate tools, loosen the two bolts securing the tensioner in place.
Once the bolts are loosened, you can adjust the tension by carefully turning the tensioner adjustment bolt. Check for any slack in the chain and make sure it's within the specified limits to prevent premature wear. Utilize a tension gauge tool to accurately measure the tension and make any necessary adjustments.
Proper tension in the timing chain makes sure that your engine operates optimally and lasts longer. Adjusting the timing chain tension correctly is important for the overall performance and reliability of your dirt bike engine.
Reassembling the Dirt Bike Engine
Carefully aligning the dirt bike engine components in the correct order is essential for successful reassembly. When putting the engine back together, make sure to follow these important steps:
- Start by positioning the bottom end of the engine correctly, ensuring that all components fit snugly.
- Align the flywheel properly before securing it in its place to avoid any future issues with engine timing.
- Double-check the alignment of the timing chain on the sprockets to prevent any misalignment that could lead to engine malfunctions.
- Once all components are in place, tighten all bolts and fasteners to the specified torque values to secure the engine properly.
Conclusion
Congratulations! You've successfully installed the new timing chain on your dirt bike.
Now, all that's left is to start the engine and enjoy the smooth, precise performance.
Just remember, timing is everything – both on and off the track.
So, make sure to keep an eye on your timing chain tension to avoid any unexpected surprises down the road.
Happy riding!

