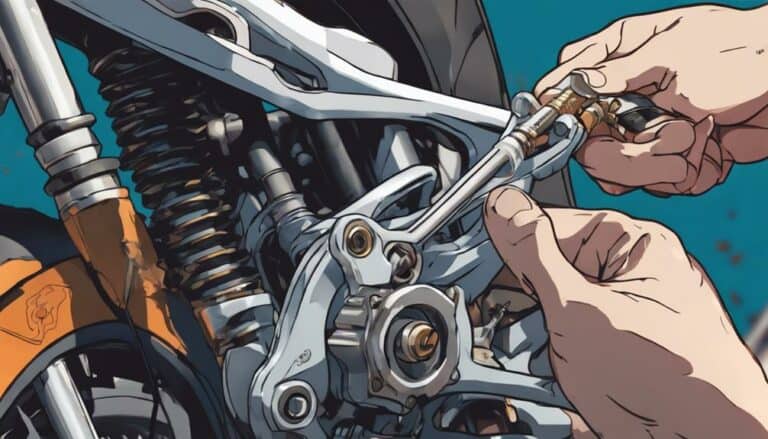
Did you know that properly installing a brake lever on your dirt bike can greatly enhance your control and safety while riding?
As you begin this process, ensuring the correct tools and materials are at your disposal is essential.
But what's the vital step often overlooked before you start dismantling the old lever?
Stay tuned to discover the key to a successful brake lever installation that will have you confidently tackling dirt trails in no time.
Key Takeaways
- Use appropriate tools and materials for brake lever replacement.
- Remove old lever carefully, noting positions for reinstallation.
- Install new brake lever securely and test for smooth operation.
- Adjust lever position for comfort and optimal functionality.
Tools and Materials Needed
To successfully install a brake lever on a dirt bike, make sure you have the necessary tools and materials ready, including a wrench set, contact cleaner, waterproof grease, and a new brake lever. When it comes to lever maintenance and compatibility, having the right tools is important. The wrench set should contain sizes that fit the bolts on the brake lever assembly to guarantee a secure fit during installation.
Additionally, the contact cleaner plays an essential role in maintaining the lever by removing old grease and debris from the components, allowing for smooth operation.
Furthermore, waterproof grease is crucial for lubricating the lever components effectively. It not only ensures proper functionality but also extends the longevity of the lever. When selecting a new brake lever, make sure compatibility with your dirt bike model to guarantee a perfect fit. By having these tools and materials on hand, you're well-equipped to complete the brake lever installation process successfully.
Removing the Old Brake Lever
Using the appropriate wrench size, loosen and remove the bolts securing the old brake lever from the dirt bike. Carefully detach any covers or rubber components connected to the old lever. Before completely removing the lever, inspect it for wear, damage, or signs of malfunction. This inspection will help you determine if the lever needs to be replaced due to excessive wear or other issues. Make sure to keep track of all parts removed in a systematic manner to prevent misplacement during disassembly. Additionally, note the positioning and alignment of the old lever as this information will be valuable when installing the new brake lever.
| Step | Description | Notes |
|---|---|---|
| 1. Loosen Bolts | Use the appropriate wrench size to loosen and remove the bolts securing the old lever. | Be gentle to avoid damaging the bolts. |
| 2. Detach Components | Carefully detach any covers or rubber components connected to the old lever. | Check for hidden screws or clips. |
| 3. Inspect for Wear | Inspect the old lever for signs of wear, damage, or malfunction before removal. | Look for cracks, bends, or excessive wear. |
Installing the New Brake Lever
Align the new brake lever with the mounting bracket on the handlebar to guarantee a proper fit and functionality.
- Insert the bolts and tighten them securely using the appropriate wrench size to prevent any loosening during your ride.
- Check the lever movement for smooth operation, adjusting as needed to avoid any friction or sticking that may hinder performance.
- Conduct a final check of the lever's position and angle to make certain a comfortable reach and optimize braking performance.
- Confirm the lever's functionality by testing the brake system to guarantee proper engagement and response.
When installing the new brake lever on your dirt bike, remember these tips for a successful installation.
Make sure the lever is compatible with your bike model and consider customization options for personal preferences.
Regular maintenance, such as cleaning and lubrication, will help prolong the life of your brake lever.
Adjusting the Brake Lever Position
For precise adjustment of the brake lever position on your dirt bike, locate the adjustment screw near the lever pivot point. This screw is typically found close to where the lever attaches to the handlebar.
To begin the adjustment process, use the appropriate tool, such as an Allen key or screwdriver, to loosen the adjustment screw. Once loosened, you can easily reposition the lever to achieve the desired lever angle. It's important to set the lever at a comfortable position that guarantees ideal hand comfort and ergonomics.
Make sure the lever is within easy reach and can be operated smoothly while riding. After adjusting the lever to your liking, securely tighten the adjustment screw to prevent any movement during use.
Testing the brake lever's functionality and comfort post-adjustment is essential to confirm that it meets your riding preferences and provides the necessary hand comfort for a safe and enjoyable ride.
Testing the Brake System
To assess the functionality of your dirt bike's brake system, begin by gently pulling the brake lever to guarantee smooth engagement without encountering any resistance.
- Check Fluid Level: Confirm the brake fluid level in the reservoir is adequate to maintain peak brake performance.
- Inspect Brake Pad Contact: Verify that the brake pads make proper contact with the rotor when the lever is pressed for effective braking.
- Visual Inspection: Conduct a visual inspection for leaks or damage in the brake system components that could affect performance.
- Test Responsiveness: Evaluate the responsiveness of the brake system at different speeds and in various riding conditions to ensure reliability.
Conclusion
After installing the new brake lever on your dirt bike, remember that precision is key to guarantee peak performance and safety.
Like a skilled craftsman meticulously carving a masterpiece, each component must be aligned and tightened with care.
Just as a perfectly tuned instrument produces beautiful music, a well-installed brake lever will harmonize with your bike's braking system, allowing you to ride confidently and smoothly.

