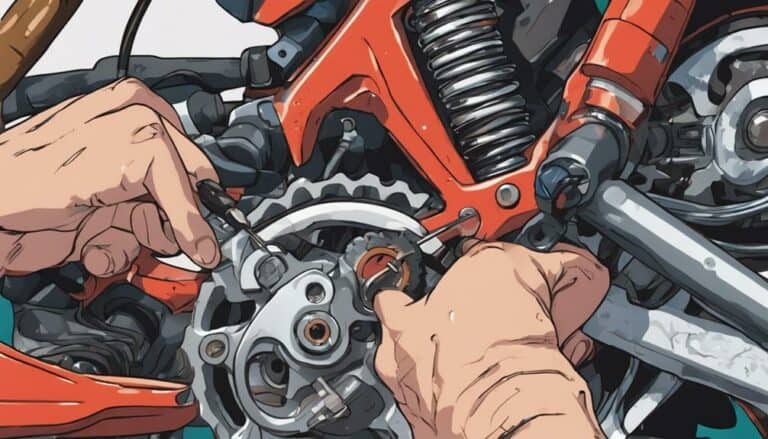
When enhancing the security features of your dirt bike, you may consider incorporating a keyed ignition system for added protection.
Before diving into the installation process, it is essential to gather all the necessary tools and materials while ensuring a clear understanding of the wiring setup.
As you begin on this project, the strategic placement of the key switch plays an important role in safeguarding your bike.
Stay tuned to discover the step-by-step guide for a successful keyed ignition installation that will provide peace of mind during your rides.
Key Takeaways
- Ensure availability of supplies like wires and pliers for a successful installation.
- Splice ignition wires carefully and double-check connections with a multimeter.
- Choose a discreet yet accessible location for mounting the ignition switch.
- Use soldering iron or splice connectors to secure connections and protect with heat shrink tubing.
Supplies Needed for Installation
To start the installation process of a keyed ignition on your dirt bike, make sure you have all the necessary supplies readily available. You'll need wires like 20 AWG for making secure electrical connections between components. Basic tools such as pliers and screwdrivers are crucial for handling various parts during the installation.
To guarantee reliable connections, a soldering iron or splice wire connectors should be used. Additional items required include a cable sleeve to protect wires, an ignition key switch for controlling the ignition, and electrical tape to secure connections and prevent shorts. Zip ties are handy for organizing wires neatly, while a heat shrink tube can provide added protection.
A multimeter might also be necessary to test connections and verify everything is functioning correctly. Having these supplies on hand will help you successfully install a keyed ignition system on your dirt bike, making it street legal and equipped with an electric start.
Wiring Preparation and Connection
Before proceeding with the wiring preparation and connection for the keyed ignition installation on your dirt bike, make sure you have identified and spliced the ignition wires into the corresponding kill switch wires for a proper connection.
Use a multimeter to double-check the wiring and prevent potential electrical issues during the setup.
Connect the ignition switch to the electric start switch by matching the appropriate contacts, ensuring the start switch is normally open.
To maintain a secure connection, solder all joints or utilize splice wire connectors to avoid loose wiring that could lead to malfunctions.
Refer closely to the wiring diagram or provided instructions accompanying the key ignition switch for precise installation.
Following these steps diligently will guarantee a successful wiring preparation and connection process, setting the foundation for a reliable keyed ignition system on your dirt bike.
Determining the Ideal Location
Having completed the wiring preparation and connection for your keyed ignition installation on the dirt bike, the next step is determining the ideal location for mounting the ignition switch. When deciding on the placement of the key switch, consider the following:
- Hidden Placement: Choose a location that's discreet and not easily noticeable to outsiders, guaranteeing the security of your bike.
- Accessible Location: Mount the ignition switch near the handlebars or on the side of the bike for quick and convenient access while riding.
- Operational Convenience: Assure the selected location allows for easy operation of the key switch without interfering with your riding experience.
- Secure Mounting: Conceal the ignition switch between existing components to prevent tampering or theft, and securely attach it to the bike to withstand the rigors of off-road riding.
Securing and Mounting the Ignition
Consider selecting a discreet yet easily accessible location on your dirt bike to securely mount the key ignition switch. To make sure the key switch is properly secured and concealed, follow these steps:
| Step | Description |
|---|---|
| Mounting Location | Choose a hidden spot that is convenient for you but not obvious to others. |
| Secure Holder | Create a holder using sturdy materials to keep the key switch in place. |
| Concealment | Position the key switch between components to prevent easy access. |
Securing the key ignition switch in a strategic location not only adds extra security but also acts as an anti-theft measure. By mounting the switch securely, you deter potential thieves and protect your dirt bike. Ensure the key switch is well-hidden yet easily reachable for your convenience. Proactively taking steps to secure and mount the ignition can significantly reduce the risk of unauthorized access and theft.
Tips and Recommendations for Installation
When installing a keyed ignition on your dirt bike, make sure you use 20 AWG wires and basic tools for a secure and functional setup. Here are some tips and recommendations for a successful installation:
- Start Safely: Begin by disconnecting the battery to prevent any electrical mishaps during the installation process.
- Secure Connections: Make sure reliable connections by soldering wires or using splice wire connectors for a robust setup.
- Heat Shrink Protection: Protect your connections from moisture and wear by using heat shrink tubing to insulate and seal the wires.
- Dual Sport Compatibility: If your dirt bike is a Dual Sport model, consider the specific wiring requirements and compatibility of the key ignition system for a seamless integration.
Following these tips will help you install your key ignition system effectively and enjoy the added security and convenience it provides.
Conclusion
Now that you have successfully installed a keyed ignition on your dirt bike, you have added an extra layer of security and peace of mind.
Like a hidden guardian, the key switch will protect your bike from unwanted intruders and guarantee its safety when left unattended.
Ride with confidence knowing that your prized possession is now safeguarded by the power of a simple yet effective ignition system.

