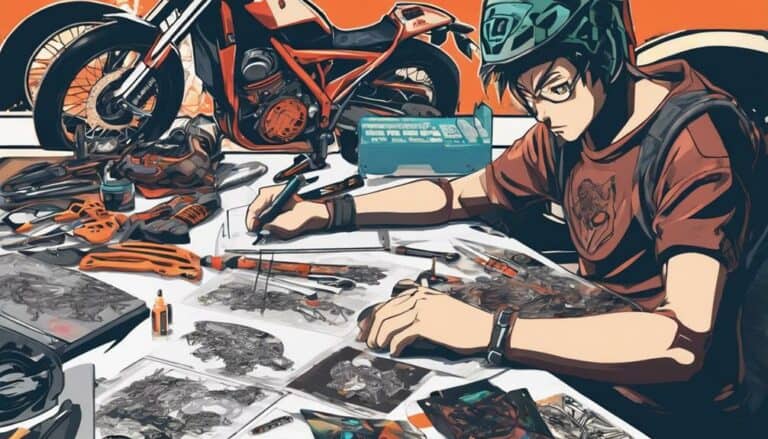
If you've ever felt like designing dirt bike stickers is as intricate as finding your way through a maze, fear not, as we've got some valuable insights to share with you.
From selecting the perfect design elements to mastering the printing process, each step plays an essential role in creating eye-catching and durable stickers for your dirt bike.
So, why not take a closer look at the intricacies involved in this craft to elevate your dirt bike's aesthetics and make heads turn on the trail?
Key Takeaways
- Choose a design that complements your dirt bike's style and enhances its aesthetic appeal.
- Opt for high-quality materials like matte calendared vinyl and Ultra curve 1500 gloss laminate for durability.
- Utilize Adobe Illustrator for precise designs and invest in quality materials like Substance Ultracurve X1.
- Properly apply stickers by cleaning the surface, using even pressure, heating for adhesion, and maintaining them for longevity.
Choosing the Right Design
When choosing the perfect design for your dirt bike stickers, consider the essence of style that resonates with the soul of your ride. Make sure to pick a design that not only complements the overall look of your dirt bike but also reflects your personality and riding vibe. Look for graphic kits specifically made for your dirt bike model to guarantee a perfect fit that seamlessly integrates with the contours of your bike.
Consider the color scheme carefully, making sure it stands out against the frame and other components of your dirt bike. Whether you prefer vibrant and eye-catching colors or a more subtle and sleek look, the design should speak to your individuality. Think about how the design will enhance the aesthetic appeal of your dirt bike while also showcasing your unique style on the trails.
Selecting the Right Materials
To guarantee the quality and longevity of your dirt bike stickers, the selection of the right materials is essential. Today's video highlights the importance of choosing high-quality matte calendared vinyl as the base material. This type of vinyl guarantees durability, making your stickers resistant to the outdoor elements that dirt bikes often face. Additionally, opt for a specialized laminate like Ultra curve 1500 gloss laminate for extra protection against wear and tear.
When it comes to cutting the stickers, using a 60-degree blade is important for achieving clean and precise cuts through the thick material without compromising the design. Adjust the cutter speed to a lower setting to make safety and accuracy during the cutting process. Properly supporting the material while cutting is also crucial to prevent any scratching or damage to the graphics on your dirt bike stickers. By selecting the right materials and following these tips, you can create high-quality stickers that will stand the test of time.
Designing and Printing Process
For an impactful and visually stunning design, start by harnessing the power of Adobe Illustrator to create your dirt bike stickers. When designing and printing your stickers, consider the following steps to guarantee a professional and durable result:
- Utilize Adobe Illustrator: Take advantage of this powerful tool to craft precise and intricate graphic designs for your dirt bike stickers. Explore various design elements and color schemes to create a unique and eye-catching sticker.
- Enhance Your Skills: Consider taking design skill classes on platforms like Skillshare to refine your abilities and stay updated on the latest design trends. Building your expertise will enable you to create more polished and professional stickers.
- Choose Quality Materials: Opt for high-quality printing materials like Substance Ultracurve X1 to guarantee your stickers aren't only visually appealing but also durable and long-lasting. Investing in high-quality materials will elevate the overall quality of your dirt bike stickers.
Applying the Stickers Properly
Harness the meticulous design and printing work you've put into your dirt bike stickers by mastering the art of applying them properly for a flawless and long-lasting finish. Start by cleaning the dirt bike surface thoroughly with a mild soap and water solution to guarantee peak adhesion. Use a squeegee to apply even pressure while smoothing the sticker from the center outwards to prevent air bubbles. Heat the sticker with a heat gun or hairdryer for improved flexibility and adhesion. Allow the sticker to set for the recommended time before exposing it to extreme conditions. For extra protection, consider applying a clear coat or protective film over the sticker to shield it from scratches, UV rays, and other environmental factors. Take a look at the table below for a quick reference on the key steps to guarantee your dirt bike stickers are applied correctly and are long-lasting.
| Steps to Apply Dirt Bike Stickers | |
|---|---|
| Clean the surface thoroughly | Use squeegee to apply even pressure |
| Heat the sticker for better adhesion | Allow sticker to set and cure |
Maintaining Your Dirt Bike Stickers
Regular maintenance of your dirt bike stickers is essential to make sure their longevity and vibrant appearance. To keep your stickers looking fresh and bold, here are some tips to help you maintain them:
- Clean Regularly: Wash your dirt bike stickers with mild soap and water to prevent dirt buildup and preserve their vibrancy without causing any damage.
- Handle With Care: Avoid using harsh chemicals or abrasive materials when cleaning your stickers to protect the design and adhesive, ensuring they stay intact.
- Protect and Preserve: Apply a silicone-based protectant spray on your stickers to repel dirt and water, extending their lifespan and keeping them looking new for longer.
Conclusion
To summarize, ensuring the longevity and vibrancy of your dirt bike stickers requires attention to detail and quality materials.
By following the proper steps and techniques outlined in this article, you can elevate the design of your dirt bike and maintain its aesthetic appeal for years to come.
Remember, a little care goes a long way in preserving the beauty of your stickers.

