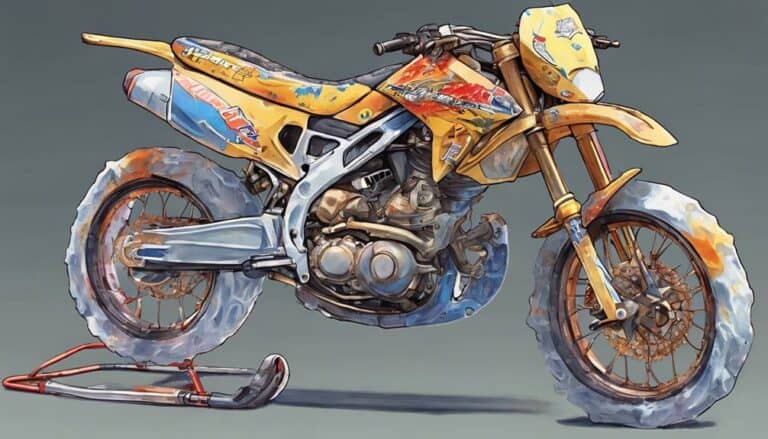
When it comes to restoring a dirt bike frame, think of it like sculpting a masterpiece from a block of marble. Each step is important in bringing out the hidden beauty within the metal structure.
From the intricate process of cleaning and repairing to the final touch of powder coating, every detail matters.
But what about the secrets to achieving that flawless finish, the tricks that can make or break your restoration project?
Stay tuned to uncover the expert tips that will elevate your dirt bike frame restoration game to the next level.
Key Takeaways
- Inspect for frame damage like dents and cracks to assess repair needs accurately.
- Strip down components, document process, and identify hidden damage for thorough restoration.
- Clean, sand, and apply primer/paint meticulously for a durable and professional finish.
- Reassemble with precision, align components accurately, and double-check for safe and reliable restoration.
Assessing Frame Damage
When examining frame damage on a dirt bike, begin by carefully inspecting the frame for any visible signs of dents, cracks, or rust. These imperfections can weaken the structural integrity of the frame, compromising the overall safety and performance of your bike. Pay close attention to areas where the frame is welded together, as these are common spots for cracks to develop. Even small dents or surface rust can indicate underlying issues that may need immediate attention.
Evaluating frame damage is important to determine the extent of repairs needed. Minor dents or surface rust can often be addressed with simple solutions, while larger cracks or extensive rust may require professional intervention. It's essential to check for alignment issues as well, as any misalignment can impact the bike's handling and stability.
Stripping Down the Frame
To prepare for stripping down the dirt bike frame, thoroughly inspect all components and surfaces to guarantee a thorough restoration process. Begin by removing the engine, suspension, and bodywork carefully. Make sure to label and organize each part meticulously for easy reassembly later on.
Documenting the disassembly process step by step is important for a successful restoration project. By stripping down the frame, you create the opportunity to conduct a complete inspection and cleaning of all surfaces. This stage is essential as it allows you to identify any hidden damage or areas that require special attention during the restoration process.
Cleaning and Sanding
For a successful dirt bike frame restoration, meticulous cleaning and precise sanding are paramount steps in achieving a professional finish. Start by thoroughly degreasing the frame to remove all dirt and grime, ensuring a clean surface for the brand new coating. Sanding is then essential to eliminate old paint, rust, and imperfections, creating a smooth base for the fresh finish to adhere effectively. Proper sanding techniques, like using the correct grit size sandpaper and ensuring even coverage, are vital for achieving a professional result. Throughout the sanding process, inspect the frame carefully to identify any hidden damage or imperfections that require attention before proceeding with the restoration. Effective cleaning and sanding lay the foundation for a durable and visually appealing final result. Take a meticulous approach to these steps to guarantee your dirt bike frame restoration is done to the highest standard.
| Cleaning and Sanding Steps | Description | Importance |
|---|---|---|
| Degreasing | Remove dirt and grime | Prepares surface for new coating |
| Sanding | Eliminate old paint and rust | Creates smooth surface for new finish |
| Inspection | Identify hidden damage | Ensures frame is ready for restoration |
Applying Primer and Paint
Start by meticulously applying a high-quality primer to create a smooth and durable base for the paint on the dirt bike frame. To guarantee a successful restoration, follow these steps:
- Use the Right Tools: Employ a spray gun or airbrush for an even application of the primer. This method guarantees complete coverage and proper adhesion to the metal surface.
- Allow Proper Drying Time: Follow the manufacturer's instructions for drying times. It's important to allow the primer to dry thoroughly before moving on to the paint application stage.
- Choose the Correct Paint: Opt for a paint specifically formulated for metal surfaces. This choice guarantees longevity and resistance to rust and scratches, ensuring a lasting finish.
- Apply Thin, Even Coats: When painting the frame, apply thin and even coats of paint. Let each layer dry completely before adding more. This method results in a professional-looking and polished finish that will enhance the overall appearance of your dirt bike frame.
Reassembling the Dirt Bike
Aligning the cleaned and prepped frame components is vital to guarantee a structurally sound dirt bike reassembly. Start by carefully placing the repaired and welded parts back onto the frame in the correct order.
Make sure that the swing arm, linkage, and foot pegs are securely reattached to the frame to optimize performance. Utilize the appropriate tools and techniques to tighten bolts and fasteners according to manufacturer specifications.
Double-check all connections and components during the reassembly process to guarantee a safe and reliable dirt bike. Remember that precision is key in this step to avoid any future issues.
Take your time to align each component correctly, as even a small misalignment can impact the overall performance and safety of the bike. By following these steps diligently, you'll complete the reassembly process successfully and have a fully restored dirt bike ready for action.
Conclusion
Now that you have successfully restored your dirt bike frame, you have transformed it into a work of art.
Like a skilled artist painting a masterpiece, you have meticulously repaired every dent and flaw, leaving behind a sleek and flawless finish.
Your attention to detail and dedication to the restoration process have truly paid off, resulting in a frame that isn't just functional, but a sight to behold.
Ride on with pride and confidence on your newly restored dirt bike.

