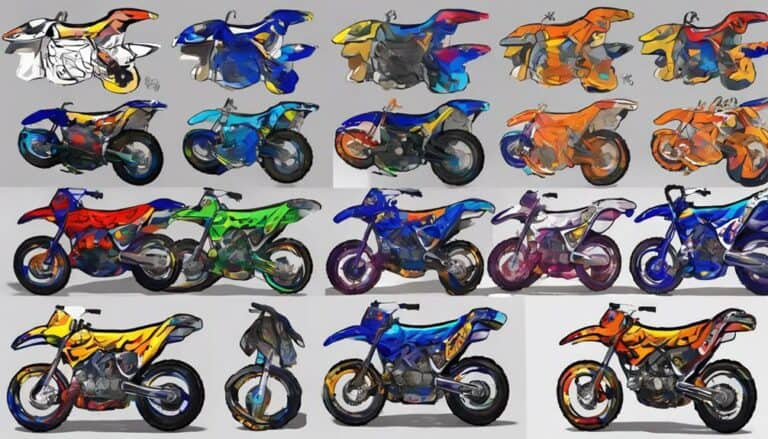
Imagine your dirt bike seat is like a canvas waiting to be transformed with a fresh coat of paint. Now, think about the possibilities of giving it a vibrant and personalized look by recoloring it.
Have you ever wondered about the best techniques and materials to achieve this? Well, there are specific steps and considerations that can help you revamp your nylon woven dirt bike seat. Let's explore how you can bring new life to your seat through the art of dyeing.
Key Takeaways
- Clean and prepare the dirt bike seat surface thoroughly for optimal dye absorption.
- Choose the right acid dye specifically formulated for nylon fibers to ensure color matching.
- Apply the dye in light coats evenly and set it on the nylon for longevity.
- Finish with a clear acrylic topcoat for UV protection and maintain the dyed seat with gentle cleaning.
Preparing the Dirt Bike Seat Surface
To prepare the dirt bike seat surface for recoloring, begin by thoroughly cleaning it with mild soap and water to remove any dirt and debris. Use a nylon brush or soft cloth to gently scrub the nylon woven seat, ensuring all surfaces are free of grime. It's vital to prep the surface meticulously to guarantee best dye absorption.
After cleaning, allow the dirt bike seat to dry completely before starting the recoloring process. This step is essential to prevent any uneven application of the dye. While the seat is drying, inspect it closely for any tears, rips, or damage that may require repair before applying the new color. Additionally, make sure the seat is devoid of any previous coatings or treatments that could interfere with the dye's ability to adhere properly.
Choosing the Right Nylon Dye
Inspecting the condition of your dirt bike seat is important before selecting the appropriate nylon dye for recoloring. When choosing the right nylon dye, consider the following:
- Acid Dyes: These are highly recommended for recoloring nylon woven dirt bike seats as they offer best color matching.
- Testing Mixed Dyes: It's vital to test mixed dyes on scrap nylon to gauge the color results before dyeing the bike seat. This step guarantees you achieve the desired color outcome without risking the integrity of the seat.
- Nylon Fibers: Since nylon fibers can be tricky to dye, it's essential to select a dye that's specifically formulated for nylon materials. This guarantees better color absorption and long-lasting results on your dirt bike seat.
Applying the Dye to the Seat
Consider carefully mixing the RIT dye to achieve your desired color before applying it to the nylon woven dirt bike seat. Start by preparing a dye bath according to the dye manufacturer's instructions. Make sure the dye is thoroughly mixed to prevent any streaking or uneven coloring on the seat. When applying the dye, use light coats to prevent over-saturation, which can lead to color bleeding or uneven patches. Work methodically, covering all areas of the seat evenly to achieve a consistent color tone.
Dip the seat into the dye bath, making sure the entire surface is submerged. Allow the nylon material to soak in the dye for the recommended duration to ensure the best color absorption. Keep an eye on the color development, and if necessary, adjust the dye concentration or immersion time to reach the desired shade. Once the dyeing process is complete, carefully rinse the seat with hot water to remove any excess dye. By following these steps, you can effectively apply the dye to the nylon woven dirt bike seat for a vibrant and refreshed look.
Setting the Dye on the Nylon
After dyeing the nylon woven dirt bike seat and rinsing it with hot water to remove excess dye, the next step is to transfer the dyed seat to a cold water bath to set the color and prevent fading. This pivotal step guarantees the color from the direct dye penetrates the nylon fibers effectively, resulting in a long-lasting and vibrant finish.
To set the dye on the nylon properly, follow these steps:
- Submerge the dyed seat in a cold water bath for at least 30 minutes to allow the color to set deeply into the fibers.
- Gently agitate the seat in the water to guarantee an even distribution of the dye, avoiding any potential lighter spots.
- Once the dye setting process is complete, remove the seat from the water bath and let it dry thoroughly before using it. This step is essential to prevent color transfer and maintain the integrity of the newly recolored seat.
Finishing Touches and Maintenance
To enhance the durability and protect the vibrant color of your newly recolored nylon woven dirt bike seat, consider applying a clear acrylic topcoat as a final finishing touch. This topcoat acts as a protective barrier, safeguarding the dye from fading due to UV exposure and abrasion. Make sure to apply the topcoat evenly, following the manufacturer's instructions for best results.
When maintaining your seat cover, use a mild detergent and a soft brush to gently clean any dirt or grime that accumulates. Avoid harsh chemicals or abrasive tools that could safeguard the dyed surface. Additionally, store your dirt bike indoors or use a cover to shield it from sunlight and harsh weather conditions that can deteriorate the recolored nylon seat.
Regular inspection for wear and color fading is recommended. Touch up any areas as needed to keep your seat looking fresh and vibrant. By following these maintenance tips, you can safeguard the longevity and vibrancy of your recolored dirt bike seat made from nylon woven fibers.
Conclusion
To conclude, recoloring a nylon woven dirt bike seat is a meticulous process that requires attention to detail. By selecting the right dye, applying it carefully, and setting it properly, you can achieve a vibrant and long-lasting color transformation.
Remember to follow the recommended maintenance steps to guarantee the dye stays intact. So, saddle up and ride in style with your freshly recolored dirt bike seat!

