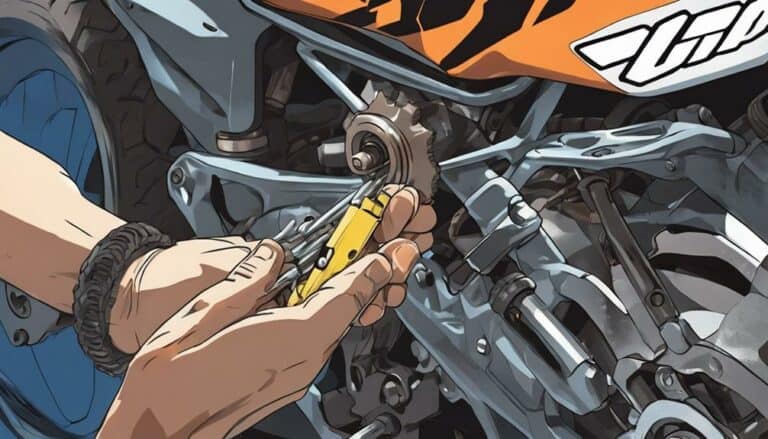
When you're faced with a stripped chain adjuster bolt on your dirt bike, it can be frustrating and seem like a challenging task, but fear not, there are solutions at hand.
From diagnosing the issue to implementing the right techniques for repair, each step plays an important role in getting your bike back on track.
By understanding the root cause and following the proper steps, you'll be equipped to tackle this challenge with confidence and precision, ensuring a successful outcome that will have you back to riding in no time.
Key Takeaways
- Inspect the chain adjuster bolt for damage before further manipulation.
- Use appropriate tools and techniques to remove the stripped bolt safely.
- Repair damaged threads with a thread repair kit for a secure fit.
- Install a new bolt correctly, ensuring proper alignment and tension for the chain.
Assessing the Damage
Inspect the chain adjuster bolt closely for any indications of stripped threads or a damaged head. Use a flashlight to get a clear view of the condition of the bolt. If you notice any signs of stripped threads, don't attempt to turn the bolt further as this can worsen the situation. The head of the bolt is essential; make sure it isn't rounded or damaged, as this will make it challenging to grip and turn.
To assess the damage, try turning the bolt with an appropriate tool. If it feels stuck or difficult to turn, it might be an indication of stripped threads. If the bolt is too tight to turn by hand, carefully use vise grips to provide additional leverage while being cautious not to cause further damage to the bolt head. Pay attention to any resistance or unusual noises while attempting to turn the bolt, as this can give you insights into the extent of the damage.
Removing the Stripped Bolt
To facilitate the removal of the stripped bolt, utilize a penetrating lubricant like the one available from Rocky Mountain to aid in loosening the bolt for easier extraction. Begin by applying the lubricant generously to the bolt and allowing it some time to penetrate the threads and break down any rust or debris that may be causing the bolt to stick. Once the lubricant has had a chance to work its magic, use a suitable tool such as vice grips to firmly grip onto the stripped bolt. Make sure that the vice grips are clamped securely to provide a strong grip.
With a steady hand, attempt to turn the bolt counterclockwise. Apply gradual pressure to avoid causing further damage or stripping the bolt further. If the bolt remains stubborn and refuses to budge, consider applying carefully controlled heat to expand the metal slightly and aid in its removal. If all else fails, seek assistance from a professional or utilize specialized tools like a bolt extractor for a safe and effective removal process.
Repairing the Threads
Consider utilizing a thread repair kit, such as a helicoil, to effectively create new threads in the stripped hole on the dirt bike's chain adjuster bolt. To repair the threads, follow these steps:
- Drill Out Damaged Threads: Use a drill bit as per the kit instructions to remove the damaged threads from the hole.
- Insert Helicoil: Carefully insert the helicoil into the newly drilled hole, ensuring it sits flush with the surface.
- Secure Helicoil: Make sure the helicoil is securely in place to provide a strong threaded connection for the new bolt.
- Prevent Backing Out: Apply thread locking compound to the helicoil to prevent it from backing out during vibrations.
- Test for Fit: Test the new threads using a bolt to verify proper fit and functionality before reassembling the chain adjuster.
Installing the New Bolt
If the helicoil has been successfully inserted to repair the stripped threads, proceed with installing the new bolt by confirming it matches the original specifications for proper tension maintenance. Use anti-seize on the threads to prevent future corrosion and facilitate adjustments. Begin by hand-tightening the bolt to secure it in place before using a torque wrench set to the manufacturer's recommended specifications. Make sure the bolt is centered and aligned correctly to maintain the chain tension properly.
| Step | Description |
|---|---|
| 1. Confirm Specifications | Verify that the new bolt matches the original specifications for proper tension maintenance. |
| 2. Apply Anti-Seize | Use anti-seize on the threads to prevent corrosion and ease future adjustments. |
| 3. Hand-Tighten | Start by hand-tightening the bolt and then use a torque wrench to the recommended specifications. |
Testing and Adjusting the Chain
When testing and adjusting the chain on your dirt bike, ensure accurate tension by measuring chain slack and adjusting as necessary. Here's how to make sure your chain is properly tensioned:
- Measure Chain Slack: Apply pressure on the chain and check the distance between specific points to determine the slack.
- Adjust Tension: Loosen the lock nuts and turn the adjuster bolts to achieve the correct tension.
- Check Alignment: Guarantee the chain is aligned correctly by referencing alignment marks on the swingarm or using a chain alignment tool.
- Test Tension: Move the bike back and forth to confirm the chain tension is appropriately adjusted.
- Secure Lock Nuts: After adjusting the chain, re-tighten the lock nuts securely to prevent any movement while riding.
Conclusion
To sum up, by carefully following the steps outlined in this guide, you can successfully repair a stripped chain adjuster bolt on your dirt bike.
Remember to be patient and methodical in your approach, taking care to avoid common pitfalls.
With a little time and effort, your bike will be back in top shape, ready for your next adventure on the trails.
Keep on riding and conquering those rough terrains like a true dirt bike champion!

