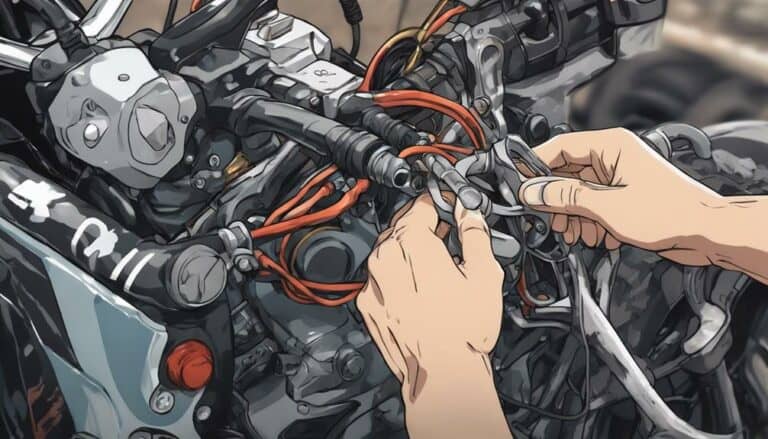
When replacing your dirt bike's throttle cable, the process requires precision and care. As you begin on this task, mastering the steps for removal and installation is essential.
However, there's one critical aspect often overlooked – a step that can make or break the success of your throttle cable replacement.
Stay tuned to discover the key element that will guarantee your dirt bike runs smoothly and efficiently with the new throttle cable in place.
Key Takeaways
- Use proper tools and new throttle cable for successful replacement.
- Inspect old cable for wear before removal.
- Securely install new cable for smooth operation.
- Adjust tension for responsive throttle and test engine response.
Necessary Tools for Throttle Cable Replacement
To begin the process of replacing a dirt bike throttle cable, make sure you have flat head and Phillips head screwdrivers at the ready. These tools are essential for efficiently removing the old throttle cable and installing the new one. When replacing the throttle cable, it's critical to have the correct tools to guarantee a smooth and successful procedure.
In addition to the screwdrivers, having a new throttle cable on hand is essential for a seamless replacement. The throttle cable is a critical component that connects the throttle tube to the throttle body, allowing you to control the speed of your dirt bike. Ensuring you have all the necessary supplies beforehand, including the new throttle cable, will help you avoid interruptions during the maintenance task.
Removing Old Throttle Cable
To remove the old throttle cable, begin by lifting the spring and white retainer on the carburetor. For some models, you may need to remove the two screws on the top of the carb to access the cable.
Next, remove the cap, spring, slide, and needle as an assembly. Use pliers to compress the spring, creating slack in the cable for easy removal. Carefully push the cable down and out to fish it out of the slide. Take this opportunity to inspect the cable for any signs of wear or damage.
Before installing the new cable, make sure proper cable routing and apply cable lube for smooth throttle operation. Consider using OEM parts for the replacement to guarantee compatibility. Regular maintenance of the throttle cable is essential for best dirt bike performance.
Installing New Throttle Cable
Consider compressing the spring with pliers to facilitate the removal of the old throttle cable before proceeding with the installation of the new one. Here's how to install the new throttle cable:
- Lift the spring and white retainer to access the housing.
- Remove the old throttle cable by pulling it out and fishing it through.
- Secure the new throttle cable by attaching it to the carb cap and adjusting it for proper assurance.
To install the new throttle cable, start by feeding it through the housing and then attaching it to the carb cap. Make sure it's properly assured to avoid any issues while riding.
Once the cable is in place, you can fine-tune it using a cable luber to ensure smooth operation. Remember to reassemble any parts you removed, such as the gas tank, and double-check all connections before testing the throttle.
With the new throttle cable in place, you'll be ready to hit the trails with confidence.
Adjusting Throttle Cable Tension
After installing the new throttle cable on your dirt bike, the next step is to establish the proper tension for smooth and responsive throttle operation. To adjust the throttle cable tension, locate the adjustment mechanism on either the throttle housing or carburetor. Start by loosening the locknut that secures the throttle cable in place. Once loosened, you can turn the adjuster to either increase or decrease the tension in the cable. Turning it clockwise will tighten the cable, while turning it counterclockwise will loosen it.
Make sure there's a slight amount of slack in the throttle cable to prevent it from being overly taut. Proper tension is essential to avoid throttle lag or abrupt responses. Once you have adjusted the tension to your satisfaction, tighten the locknut to secure the setting in place. Test the throttle to ensure it operates smoothly throughout its range.
Regularly checking and adjusting throttle cable tension will help maintain the best performance and control of your dirt bike.
Testing Throttle Response
Test the throttle response by smoothly twisting the throttle grip and observing the corresponding movement in the carburetor or throttle body. Confirm the throttle returns smoothly to the closed position after releasing the grip. Check for any lag or delay in the engine's response to throttle inputs. Listen for consistent engine sounds and monitor RPM changes as throttle is applied.
When testing the throttle response, pay attention to how the engine reacts to your twists. Any delays or sluggish movements could indicate issues with the throttle cable adjustment or the need for a replacement. By observing the carburetor or throttle body, you can visually confirm the alignment between your actions and the engine's response. Make sure to twist the throttle in a controlled manner to accurately assess the throttle response and avoid sudden RPM changes that could impact your evaluation.
Conclusion
To sum up, replacing a dirt bike throttle cable is like giving your bike a new lifeline. By carefully removing the old cable and installing a new one, you guarantee smooth and responsive throttle control.
Remember to pay attention to every detail, from cable routing to tension adjustment, to guarantee peak performance. Just as a steady hand guides the throttle, your careful maintenance keeps your dirt bike running smoothly.

