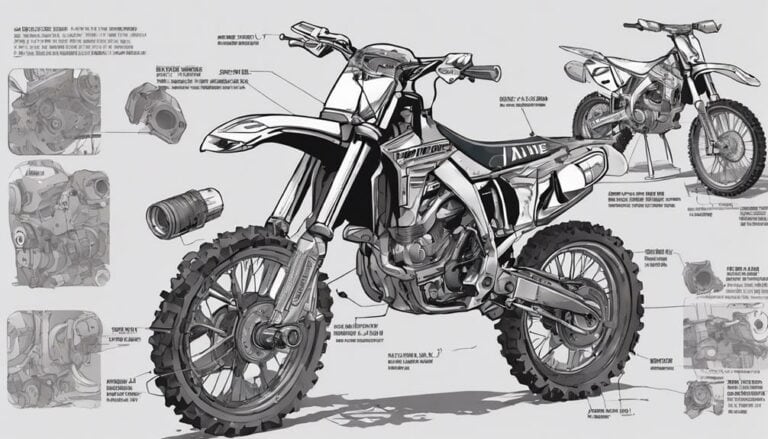
When it comes to splitting a dirt bike crankcase on a 2-stroke engine, as the saying goes, 'slow and steady wins the race.' Starting with a well-prepped workspace and the right tools is important.
As you begin the process, pay close attention to the intricate steps involved in this task. Properly executing each step guarantees the integrity of your engine and successful reassembly.
Remember, precision is key in this intricate operation, so proceed with caution and focus on the details to achieve a seamless split.
Key Takeaways
- Prepare the engine by draining fluids and removing external components.
- Carefully remove engine covers by loosening bolts and prying them apart.
- Use a crankcase splitter tool to separate the halves with gentle pressure.
- Inspect components for wear, clean thoroughly, and follow the service manual for reassembly.
Preparing the Dirt Bike
Before beginning the process of splitting the dirt bike crankcase, make sure that you have drained all fluids from the engine and cleaned the exterior to prevent contamination during disassembly. Making sure that the engine is free from any residual oil or coolant will help maintain a clean working environment and prevent any leaks or spills during the procedure. Additionally, by cleaning the exterior of the dirt bike, you eliminate the risk of debris falling into the engine when the crankcase is split.
When preparing the dirt bike, it's important to remove any external components that are attached to the engine, such as exhaust pipes and carburetors. This step will grant easier access to the crankcase and simplify the disassembly process. Securing the dirt bike on a stand or lift is necessary to provide a stable platform for working on the engine. Gather all the necessary tools and equipment, including sockets, wrenches, and a crankcase splitter, before commencing the disassembly to make sure a smooth and efficient procedure.
Draining the Engine Oil
To guarantee a clean and efficient disassembly process, begin by completely draining the engine oil from the dirt bike crankcase. Locate the drain plug at the bottom of the engine and remove it to allow the oil to flow out smoothly. Use a suitable container to catch the drained oil, making sure proper disposal or recycling according to environmental regulations. It is important to adhere to oil disposal regulations to uphold environmental responsibility. Take preventive maintenance measures by cleaning the area around the drain plug and inspecting the oil for any metal particles or contaminants that may indicate underlying engine issues. By following these steps, you not only prepare the dirt bike for further maintenance but also contribute to environmental protection.
| Preventive Maintenance | Environmental Responsibility | Oil Disposal Regulations |
|---|---|---|
| Clean area around drain plug | Proper oil disposal | Adhere to environmental regulations |
| Inspect oil for contaminants | Recycle oil appropriately | Prevent pollution |
| Ensure smooth oil flow | Environmental protection | Follow guidelines for disposal |
Removing the Engine Covers
Start by removing all the bolts that secure the engine covers together using a suitable tool. Once the bolts are out, follow these steps to safely remove the engine covers:
- Use a rubber mallet to gently tap around the edges of the covers to loosen them.
- Carefully pry the covers apart using a flat head screwdriver or a case splitter tool.
- Make sure all bolts are removed before attempting to split the crankcase.
- Take your time and work slowly to prevent damaging any components during the process.
Proper maintenance of the covers is important for the overall health of your engine. When disassembling the crankcase, the covers must be handled with care to avoid any potential damage. Engine protection is key during this process to prevent any unnecessary wear and tear. By following these steps diligently, you'll ensure a smooth and successful crankcase disassembly.
Splitting the Crankcase
When splitting the crankcase, guarantee all bolts have been removed and use a crankcase splitter tool to evenly separate the two halves. Apply gentle pressure with an impact gun and a soft dead blow hammer to help break the cases free evenly. Make sure that the transmission components aren't stuck or damaged during this process. Carefully lift off the crankcase halves, making sure to keep the transmission intact for easier reassembly later on.
Once the crankcase is split, inspect the crankshaft for any signs of wear or damage. If needed, disassemble the crankshaft for a thorough inspection and assemble it back following the manufacturer's specifications. Apply the recommended sealant on the mating surfaces before torquing down the bolts to the specified torque specs.
Before proceeding further, remove the cylinder head to inspect the piston for any wear or damage. This step is important to ensure the engine's best performance and longevity.
Inspecting and Reassembling Components
Inspect the crankshaft thoroughly for wear, damage, or scoring that may necessitate replacement. When examining the components, follow these steps:
- Bearing inspection, bearing replacement: Check the bearings for smooth rotation, replacing any showing wear or binding to guarantee top performance.
- Gear examination, gear replacement: Inspect the transmission gears for worn or chipped teeth, replacing any damaged gears to maintain smooth operation.
- Component cleaning: Thoroughly clean all parts to eliminate contaminants that could lead to future problems.
- Reassembly process: Utilize a service manual or reference guide to correctly reassemble the components in the proper order and orientation, ensuring everything fits together seamlessly.
Conclusion
As the crankcase splits open, revealing the inner workings of the engine, it symbolizes the intricate and precise nature of dirt bike maintenance. Just like the careful disassembly process, every component must be inspected and reassembled with precision to ensure peak performance.
Approach each step methodically and attentively, like a mechanic unraveling the secrets hidden within the engine. Remember, the key to success lies in attention to detail and a steady hand.

