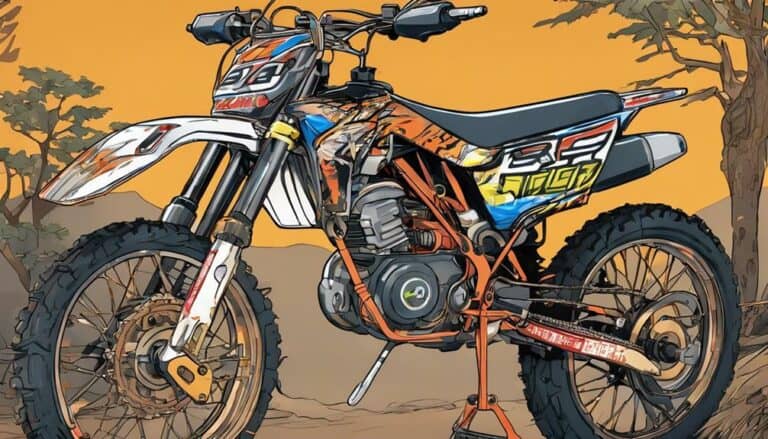
Imagine wiring your Kasake125 dirt bike is like connecting the dots on a blueprint; each wire plays an important role in igniting the engine's power.
With precision and care, you can bring life to your dirt bike by mastering the art of wiring.
From deciphering the wiring diagram to ensuring a flawless connection between components, every step is essential.
As you start on this journey, remember that attention to detail is key, and the satisfaction of hearing the engine roar to life awaits at the finish line.
Key Takeaways
- Accurately match wire colors and types to the diagram for proper wiring.
- Test for spark output and check connections to ensure correct installation.
- Troubleshoot wiring issues by examining connections, insulation, and using a multimeter.
- Ground wires securely, connect CDI directly to the motor, and test the system for functionality.
Tools Needed for Wiring Kasake125
To wire the Kasake125 dirt bike effectively, you'll need a wiring harness kit, a screwdriver, pliers, and a spark plug tester.
The wiring harness kit, priced at around $16, contains all the necessary components for proper wiring of the dirt bike.
The screwdriver plays a significant role in securing connectors and screws during the wiring process, ensuring a stable connection.
Pliers are essential for making tight connections within the wiring harness, allowing for adjustments to be made with precision.
The spark plug tester is an important tool for checking the spark output of the engine, guaranteeing that the wiring and ignition system are functioning correctly.
Understanding Kasake125 Wiring Diagram
In understanding the Kasake125 wiring diagram, make certain precise matching of wire colors like red with black stripe to corresponding motor wires for accurate electrical connections.
To investigate a little bit deeper, it's essential to make sure the green wire with a white stripe aligns with the correct motor wire and the blue wire with a white stripe is also connected properly.
When connecting the CDI to the motor, make sure to follow the diagram meticulously for best performance. Additionally, it's really necessary to test for spark by observing rapid blue sparking while making sure the plug is securely grounded and all wiring connections are correct.
If you encounter any issues with no spark, troubleshooting may involve checking internal motor parts and potentially replacing components under $25 for a fully operational setup.
Steps to Wire Kasake125 Dirt Bike
Start by connecting the red wire with black stripe from the wiring harness to the corresponding motor wire on your Kasake125 dirt bike. Match the green wire with white stripe from the harness to the corresponding motor wire for a solid electrical connection. Make sure the blue wire with white stripe is properly connected to its counterpart on the motor to finalize the wiring setup. Next, plug the CDI directly into the motor to guarantee a reliable connection essential for sparking. To enhance wire routing techniques, follow the existing paths on the bike frame and secure the wires with zip ties to prevent interference with moving parts. For proper grounding methods, connect the grounding wire to a clean, unpainted metal surface on the bike frame to ensure effective grounding. Finally, when installing the voltage regulator, mount it securely on the bike frame using the provided hardware and connect the wires according to the manufacturer's instructions.
| Step | Description | Tips |
|---|---|---|
| Connect Red Wire | Match with black stripe on motor wire | Secure connections for reliable power |
| Match Green Wire | Corresponding motor wire with white stripe | Prevents electrical issues |
| Make sure Blue Wire | Connect to counterpart on motor | Completes essential wiring connections |
| Plug in CDI | Directly into motor for sparking | Critical for engine ignition |
Testing the Electrical System
After securely wiring the Kasake125 dirt bike following the specified steps, move on to testing the electrical system to guarantee proper functioning.
- Disconnect the spark plug: Before testing, disconnect the spark plug to ensure better visibility and proper grounding during the testing process.
- Check for blue sparking indicators: When testing the electrical system, look for rapid blue sparking, as this indicates that the system is functioning correctly.
- Verify wiring harness connections: Make sure that all wiring harness connections are secure and correctly matched to the motor wires to prevent any issues during testing.
- Inspect the main wires: The CDI, coil, and kill wires are vital components for generating spark in the engine. Make sure they're properly connected and functioning as intended.
Troubleshooting Common Wiring Issues
To effectively troubleshoot common wiring issues on your Kasake125 dirt bike, begin by examining the connections between the wiring harness and the motor for proper functionality. Guarantee that the wire insulation is intact and free from any damage that could cause a short circuit.
Use a multimeter for voltage testing along the wiring to pinpoint any areas with irregular electrical flow. Check the connection reliability by securely fastening all terminals and connectors.
Test the CDI connection to the motor, guaranteeing it's foolproof to avoid any potential electrical malfunctions. Ground the spark plug securely before testing for spark, looking for rapid blue sparking as a sign of good ignition system health.
Verify the integrity of the kill wires for proper engine shutdown functionality. If the no-spark issue persists, consider troubleshooting internal motor parts and exploring affordable replacement options under $25 for cost-effective solutions.
Conclusion
To sum up, wiring your Kasake125 dirt bike is like connecting the veins and arteries of a living organism. Each wire plays a vital role in ensuring the engine runs smoothly and efficiently.
By carefully following the steps outlined and testing the electrical system, you can breathe life into your dirt bike. Remember, attention to detail and precision in your connections will be the key to a successful ride.

