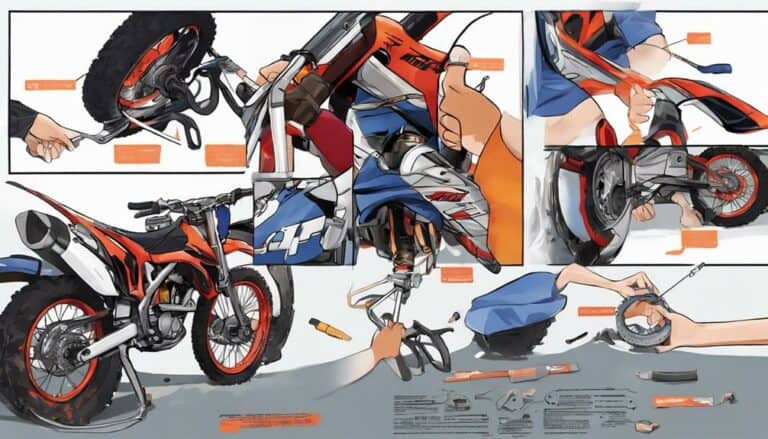
Imagine the front innertube of your dirt bike as the beating heart of your machine, important for a smooth and safe ride. Now, picture yourself on the edge of mastering the art of installing this essential component.
As you start on this journey, moving through the intricate steps with precision and care, you'll uncover the secrets to a seamless installation process.
Stay tuned for expert tips that will elevate your dirt biking experience to a whole new level of proficiency.
Key Takeaways
- Elevate bike and remove front wheel carefully.
- Inspect, replace, and position inner tube correctly.
- Reinstall front wheel with proper alignment and torque.
- Inflate, test for leaks, and ensure correct tire pressure for safe riding.
Gather Necessary Tools
When preparing to install the front inner tube on your dirt bike, make sure you have gathered essential tools such as:
- Tire spoons: These will help you remove the tire from the rim.
- Rim lock wrench: This tool is necessary for loosening and tightening the rim lock securely.
- Bead buddy tool: This will assist in holding the bead in place while you work on installing the front inner tube.
- Tire paste: This will aid in lubricating the tire bead, making it easier to slide the tire back onto the rim.
Having the right tools at your disposal is key to successfully installing the front inner tube on your dirt bike. With these tools and a clean, organized workspace, you'll be well-equipped to tackle this task with confidence and precision.
Remove Front Wheel
To remove the front wheel from your dirt bike, elevate the bike on a stand for better access and then loosen the axle nut and pinch bolts on the front fork to release the wheel. Ensuring the bike is securely lifted will make the process easier and safer.
Next, gently tap the axle from the opposite side to push it out of the wheel hub. This step requires finesse to avoid causing any damage. Carefully slide the wheel out from the fork, making sure not to damage the brake rotor or caliper. Attention to detail is key here to prevent any unnecessary repairs later on.
Once the wheel is removed, you're one step closer to installing the front inner tube. By following these steps meticulously, you'll be able to liberate the front wheel from your dirt bike efficiently and without any issues.
Replace Innertube
Begin by completely deflating the tire before removing it from the rim to access the inner tube. Inspect the inner tube for any signs of damage or wear. Carefully remove the old inner tube from the tire, making sure not to damage the tire itself. When installing the new inner tube, make sure it's positioned correctly inside the tire, without any twists or folds that could cause issues later on.
Before fully seating the new inner tube inside the tire, inflate it slightly to give it shape. This step will help prevent pinching the inner tube between the tire and rim. Once the inner tube is correctly placed, mount the tire back onto the rim. Confirm the tire sits evenly on the rim before inflating it to the recommended pressure.
Finish by checking for any leaks around the valve stem or where the tire meets the rim. Inflate the tire to the recommended pressure, and confirm it holds air properly before heading out for your next ride.
Reinstall Front Wheel
Prepare the front wheel for reinstallation by guaranteeing proper alignment marks match before proceeding. Align the wheel with the fork, making sure the marks on both sides correspond accurately.
Apply a thin layer of waterproof grease to the axle and spacers to facilitate smooth insertion. Slide the wheel into place, guaranteeing the brake rotor fits correctly between the caliper pads. Insert the axle through the wheel hub, fork, and spacers, then thread on the axle nut. Tighten the axle nut gradually and evenly, alternating between sides to prevent misalignment. Refer to the manufacturer's specifications for the correct torque setting and use a torque wrench to secure the axle nut properly.
Once the axle nut is torqued to the specified value, check the brake caliper alignment. Guarantee the caliper is centered over the rotor and tighten the caliper bolts to the recommended torque. Conduct a final inspection to verify the wheel and brake system alignment. Double-check all connections and settings before testing the bike to guarantee a safe and smooth ride.
Inflate and Test
Gradually inflate the front innertube using a portable air pump, making sure you avoid overinflation.
To properly inflate and test the front innertube on your dirt bike, follow these steps:
- Check Pressure: Utilize a pressure gauge to make sure the front innertube reaches the recommended PSI for your dirt bike. Proper pressure is essential for top performance and safety on the trails, guys.
- Detect Leaks: Check for any leaks by applying soapy water around the valve stem and tube. Keep a keen eye out for the formation of bubbles, indicating air escaping. Identifying leaks early can prevent unexpected deflation while riding, guys.
- Verify Alignment: Inspect the innertube for proper alignment inside the tire. Make sure it sits evenly and smoothly within the tire before proceeding with the tire installation. Correct alignment reduces the risk of uneven wear and potential punctures, guys.
Take these steps seriously to make sure your front innertube is in top condition before hitting the dirt trails.
Conclusion
Now that you have successfully installed the front innertube on your dirt bike, you're ready to hit the trails with confidence.
Remember to always check your tire pressure before riding and keep your tools handy for any future maintenance needs.
Enjoy the smooth ride and embrace the thrill of off-road adventures knowing your bike is in top shape.
Happy riding!

